This week I did a couple different things. I made a ring cast in bismuth-tin alloy, then I cast my nose in gypsom cement, then I tried to make
a proof of concept for the covering for my final project.
Ring
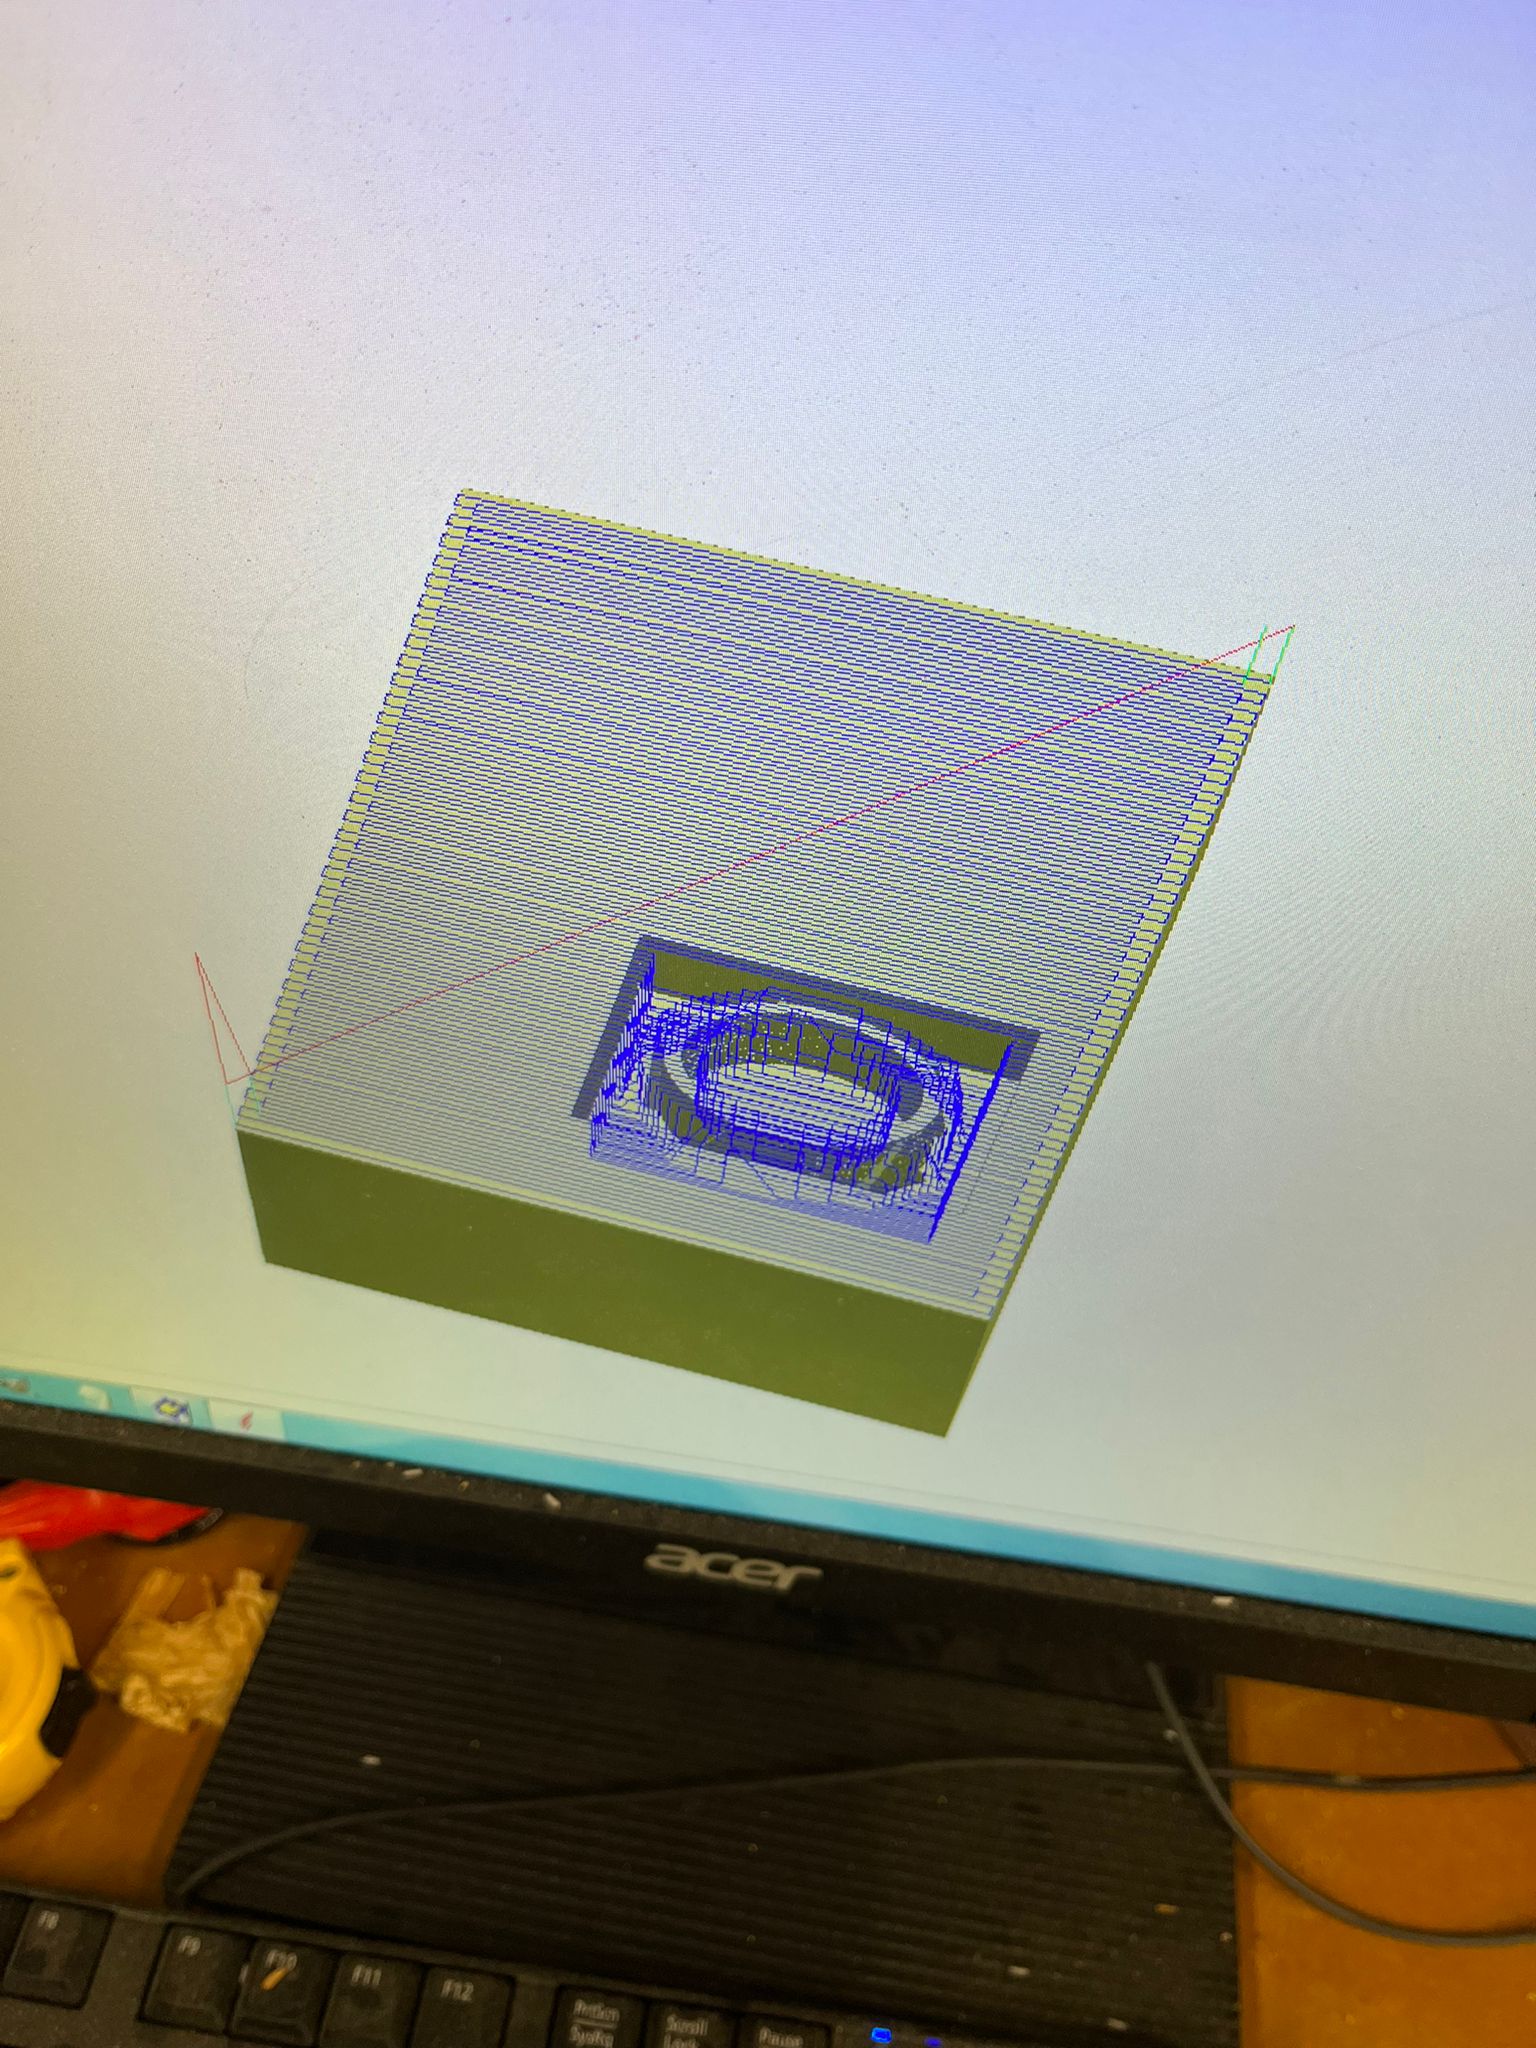
To make sure I had a finished product for the week I decided to make a cool ring. I wanted to put shapes on the ring. I originally
started by using octagons but realized that the mill could not make undercuts easy, so I decided to use triangles. Both of the SRM-20
were being used so I tried to figure out how to use the shopbot. The shopbot in the lab I only knew how to use Aspire with. So I tried to
figure out how to mill 3d with Aspire. It ended up being much easier than I expected.
Change mill bit to 1/16th follow the same fabacademy websitefor speeds and feeds
Once got the aspire file, open up shopbot software
Shopbot
Change collet such that it can fit smaller mill bits
Turn on machine
Move to the correct corner of wax block
Set X and Y to zero
Air cut
Using paper method, drop down mill bit
Run rough cut
Change mill bit
Run finish cut
Although I did not do as I preach. I instead ran the finish cut with a 1/8th mill bit as well.
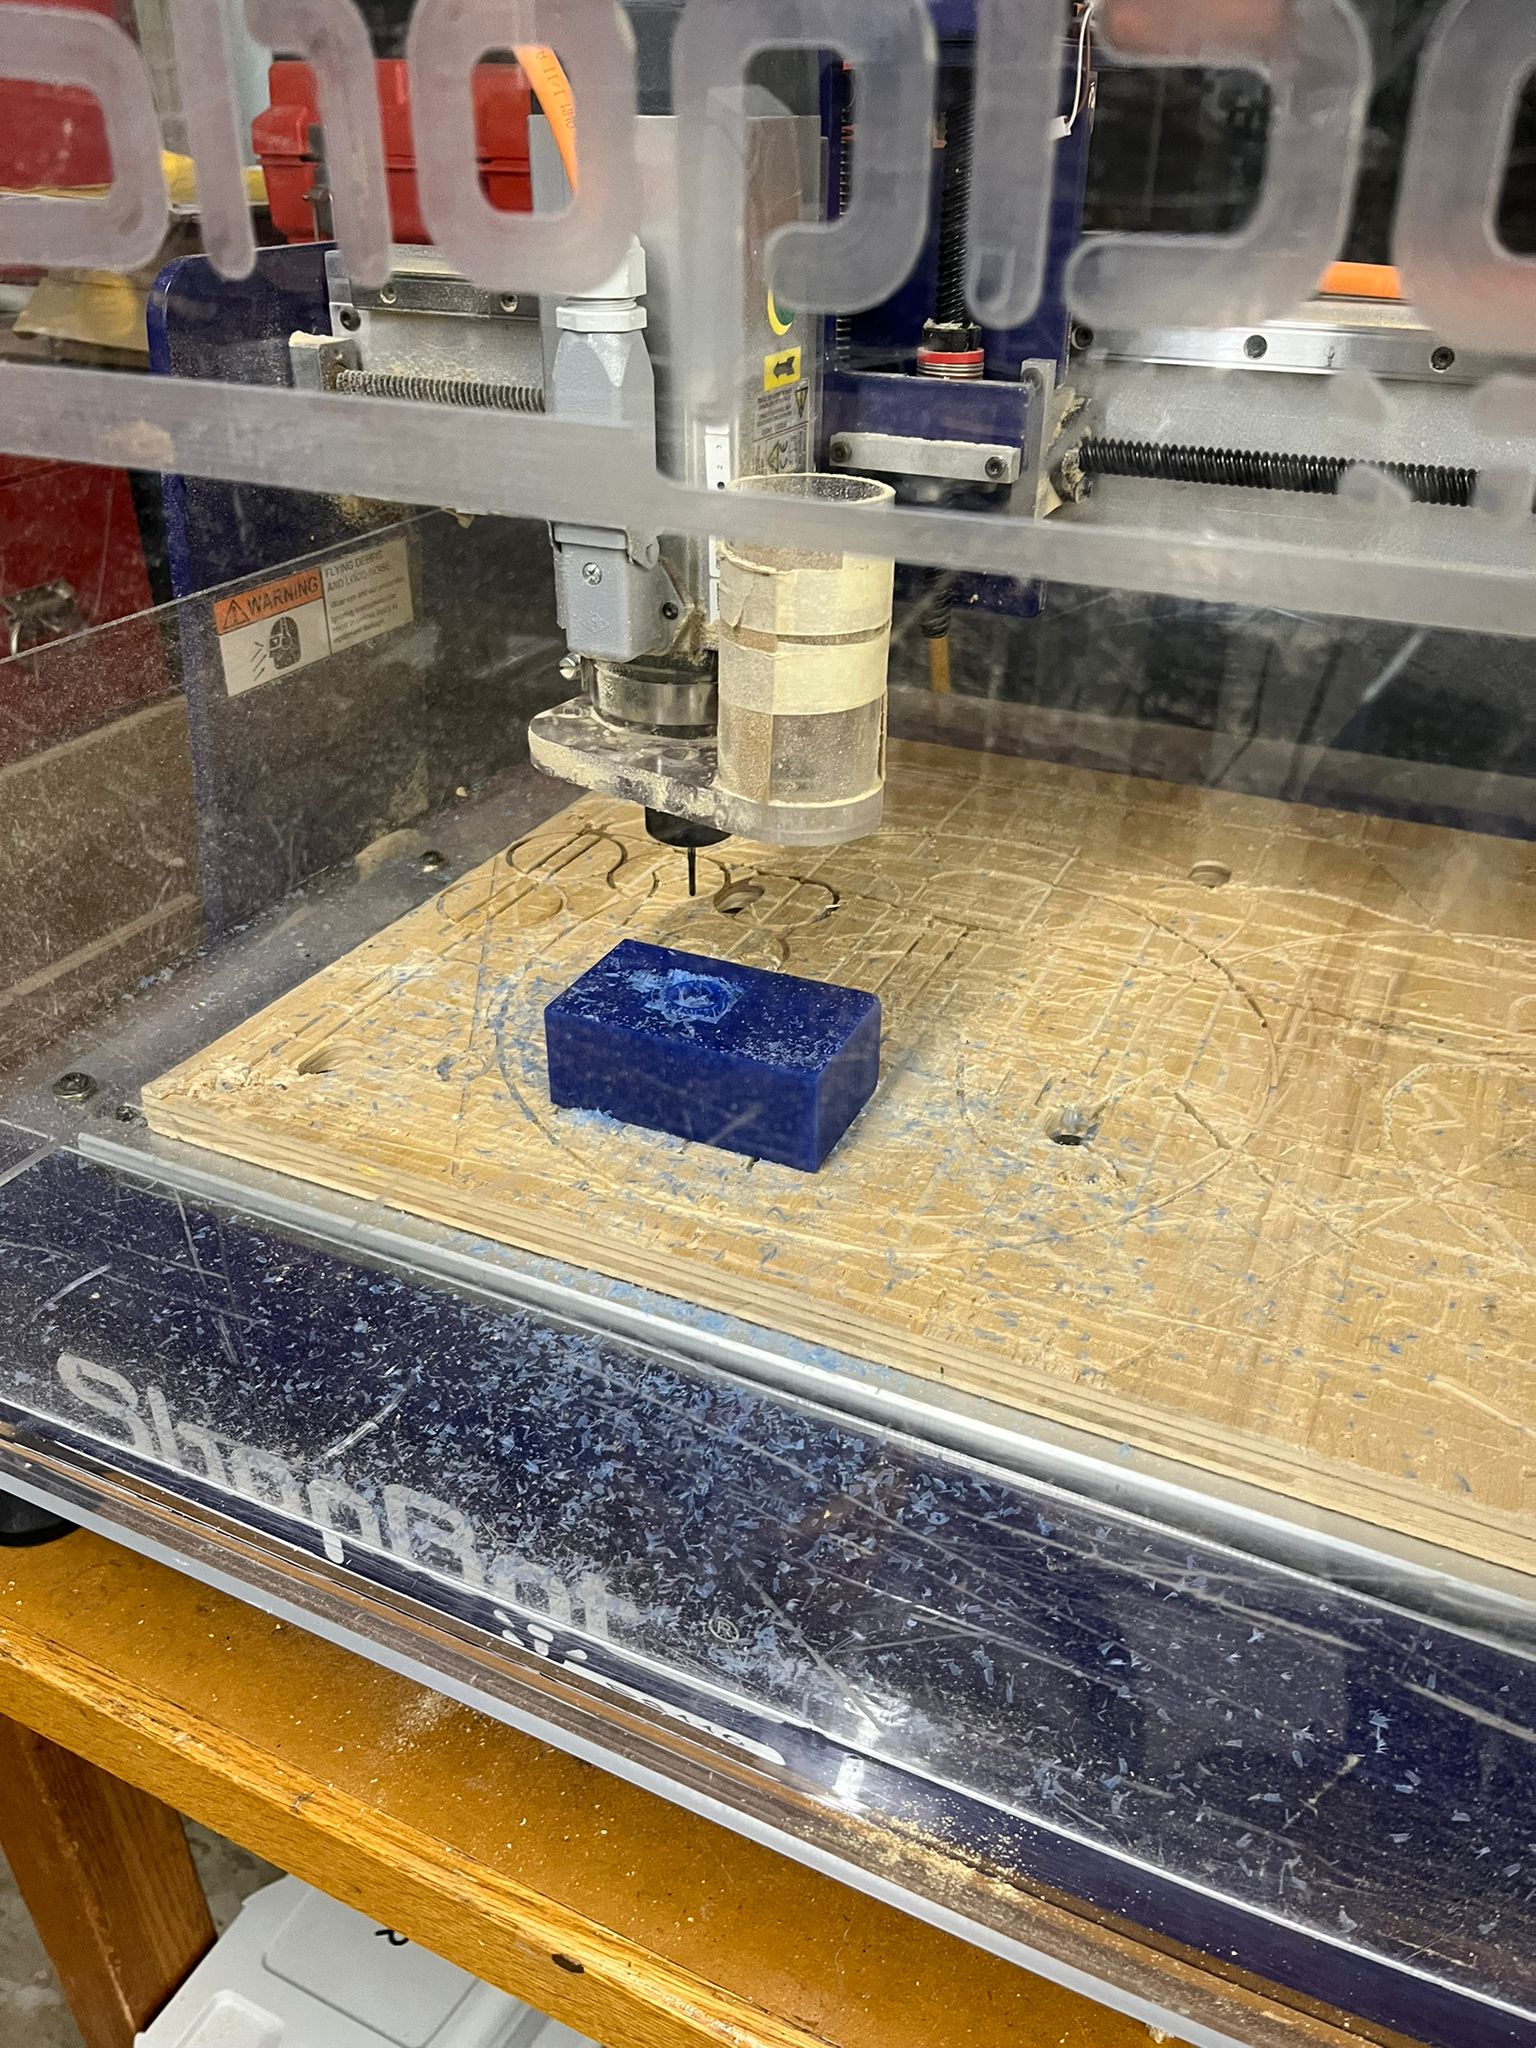
Casting with Bismuth Tin alloy
Preheat toaster oven to maximum value
Put metal in metal container in oven
Once heated pull out with an oven mitt
Pour into mold
Once poured you are able to move the metal around very easily so if you mess up either pour metal off by tilting or use something to move it around
Let sit till cooled
Shave off any extras
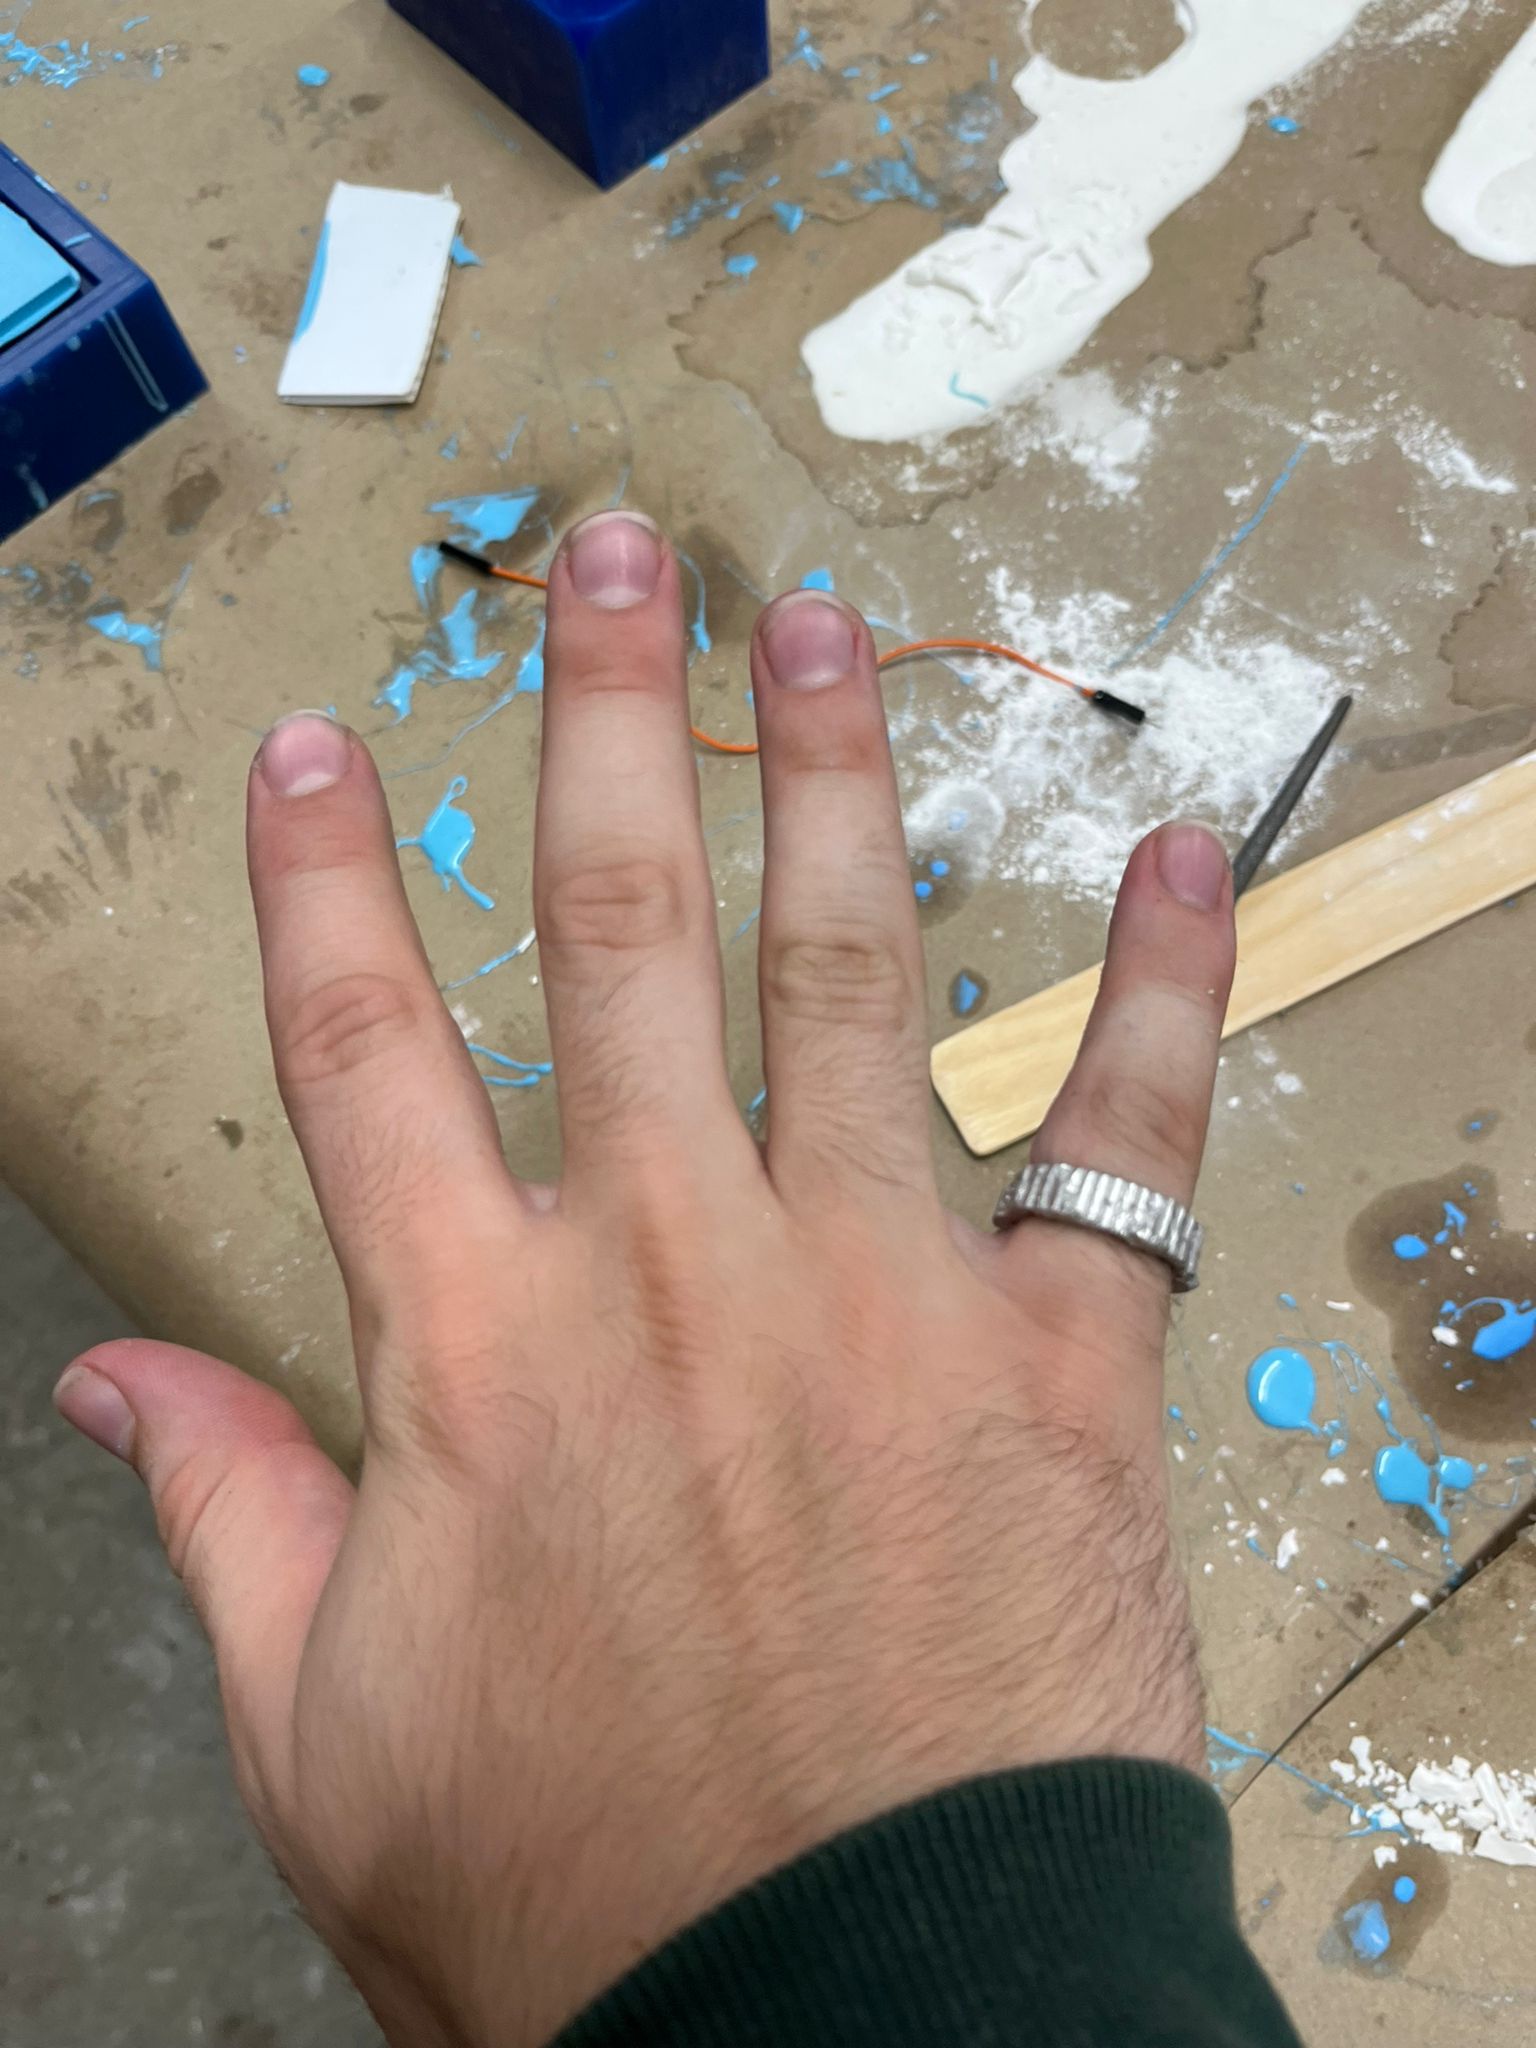
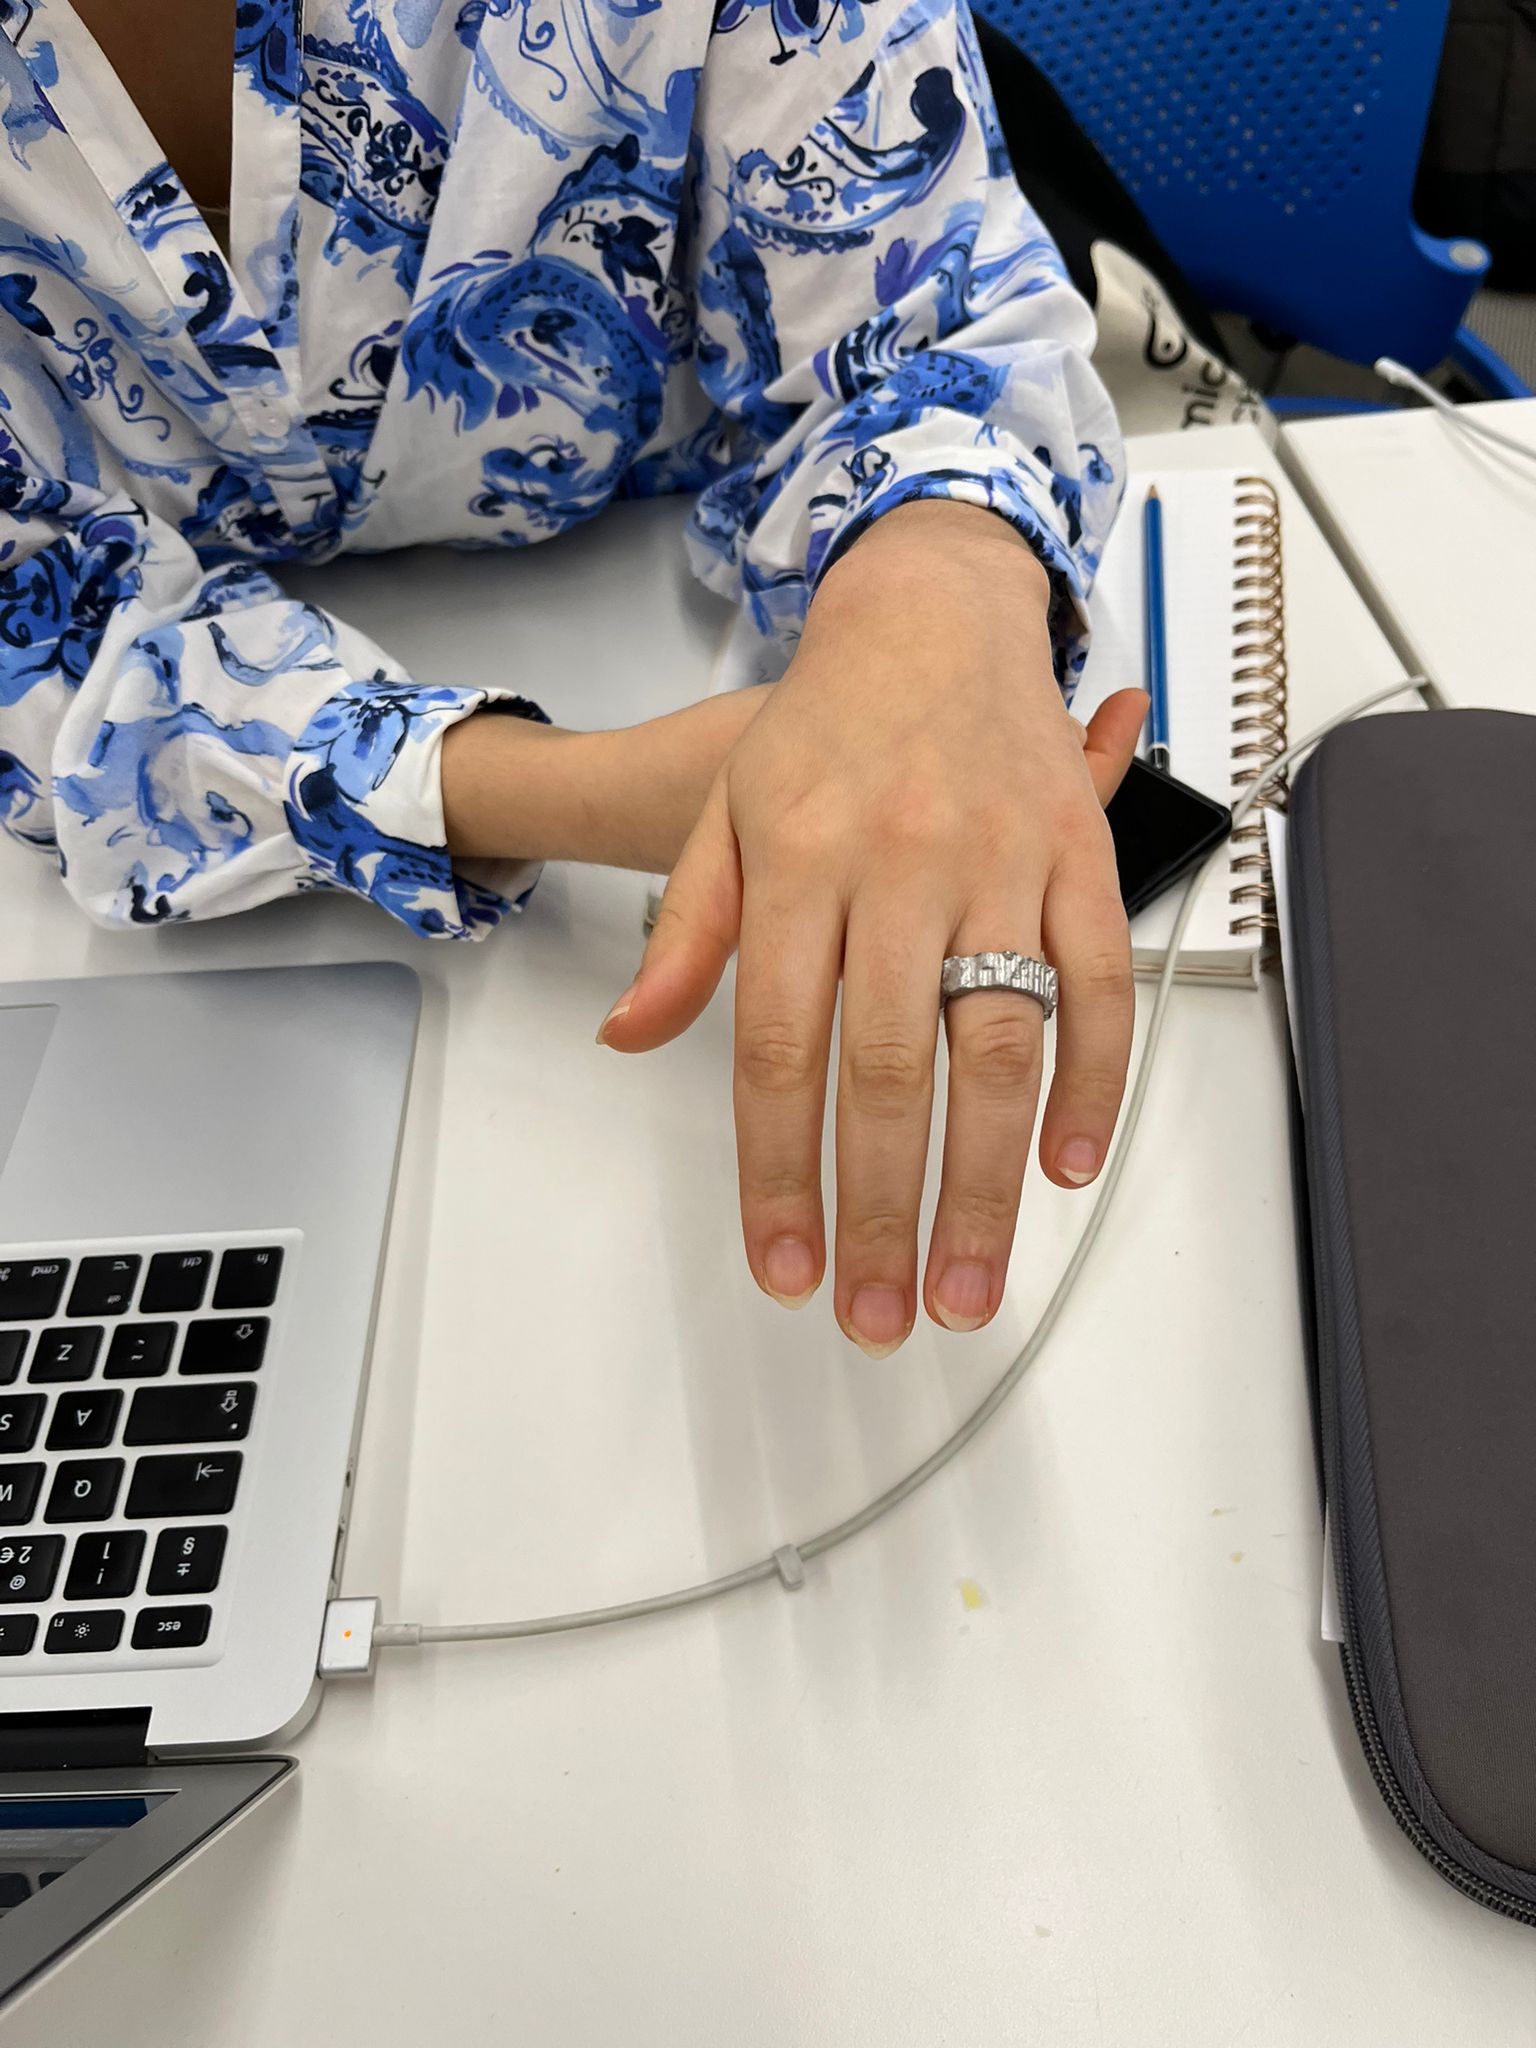
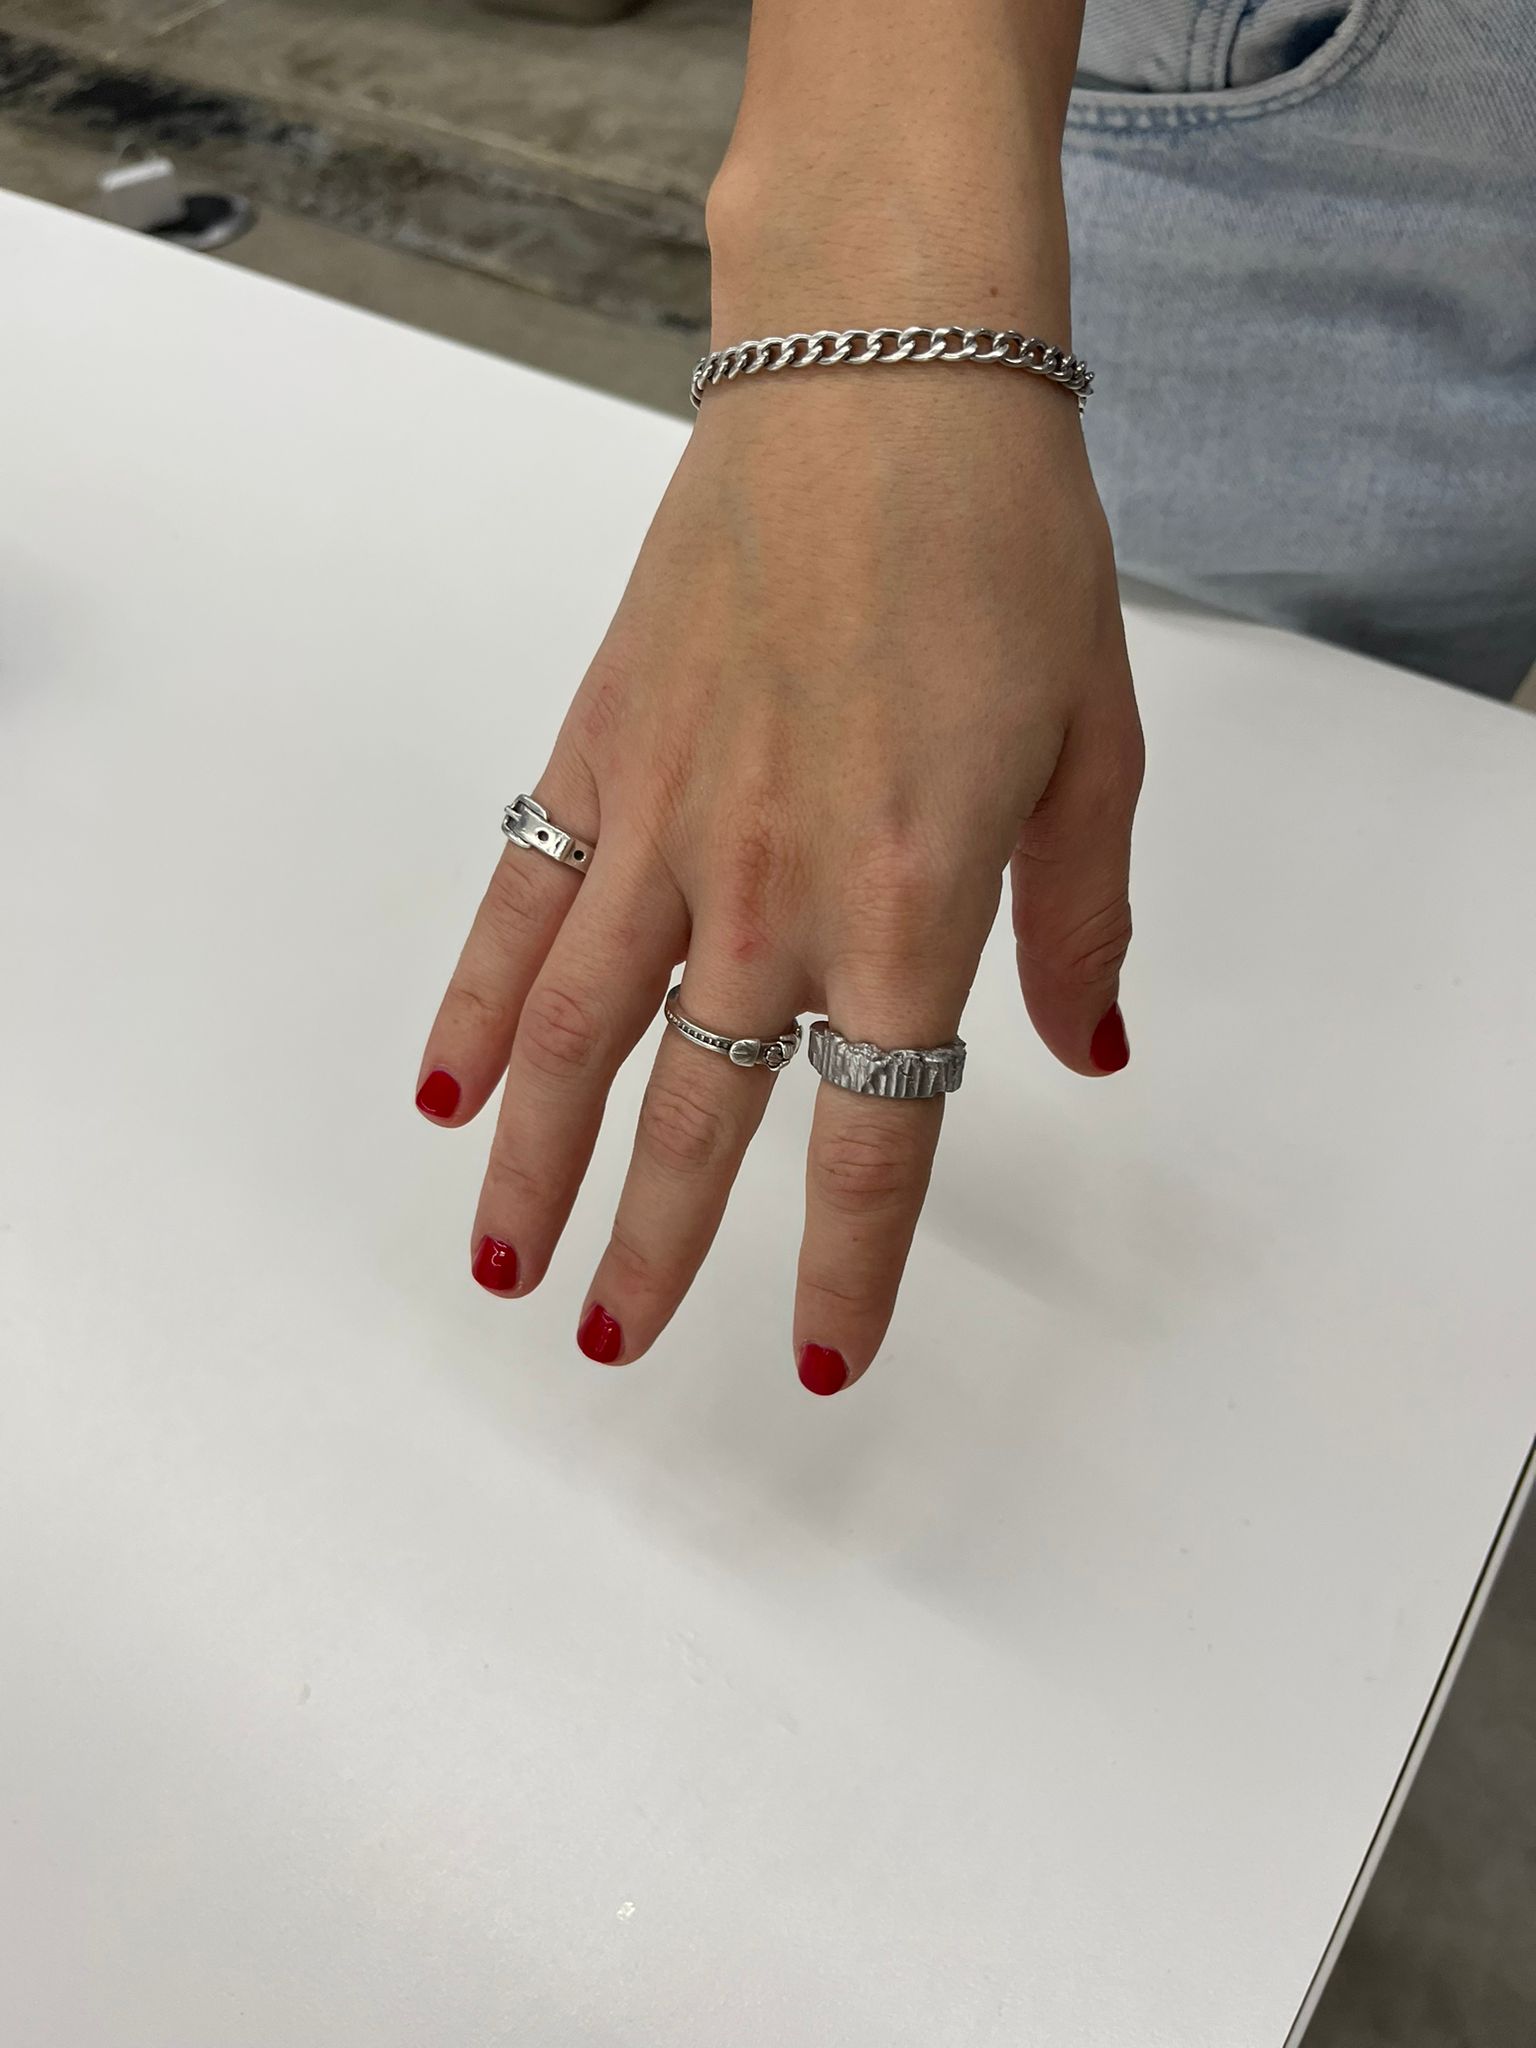
After pouring the metal and shaving off it ended up looking way cooler then I could have though of myself.
Nose
My idea was I want to see which was better, a cast of my nose or a revopoint scan. I started off thinking that I make a cover of my own nose for my
final project. I decided to do two things to try to see what ended up better. I started off by using aljenate to take a mold of my nose.
Because I didn't want it to go up my nose I put paper towls in my nostrols.
Aljenate
Follow Alja-Safe Instructions on how to use the molding gel
Mix ration 1:1 Alja-Safe to warm water
Find flexible mixing container
Put powder in
Start gradually pouring warm wating into center of powder while mixing
Mixing spread on walls in order to make sure all the powder is dissolved
Once you reached a good consistency pour into container
Good consistency means doesn't fall off stick
5 minutes to mix
Stuff your face in it
Wait fro 8 minutes or until firm
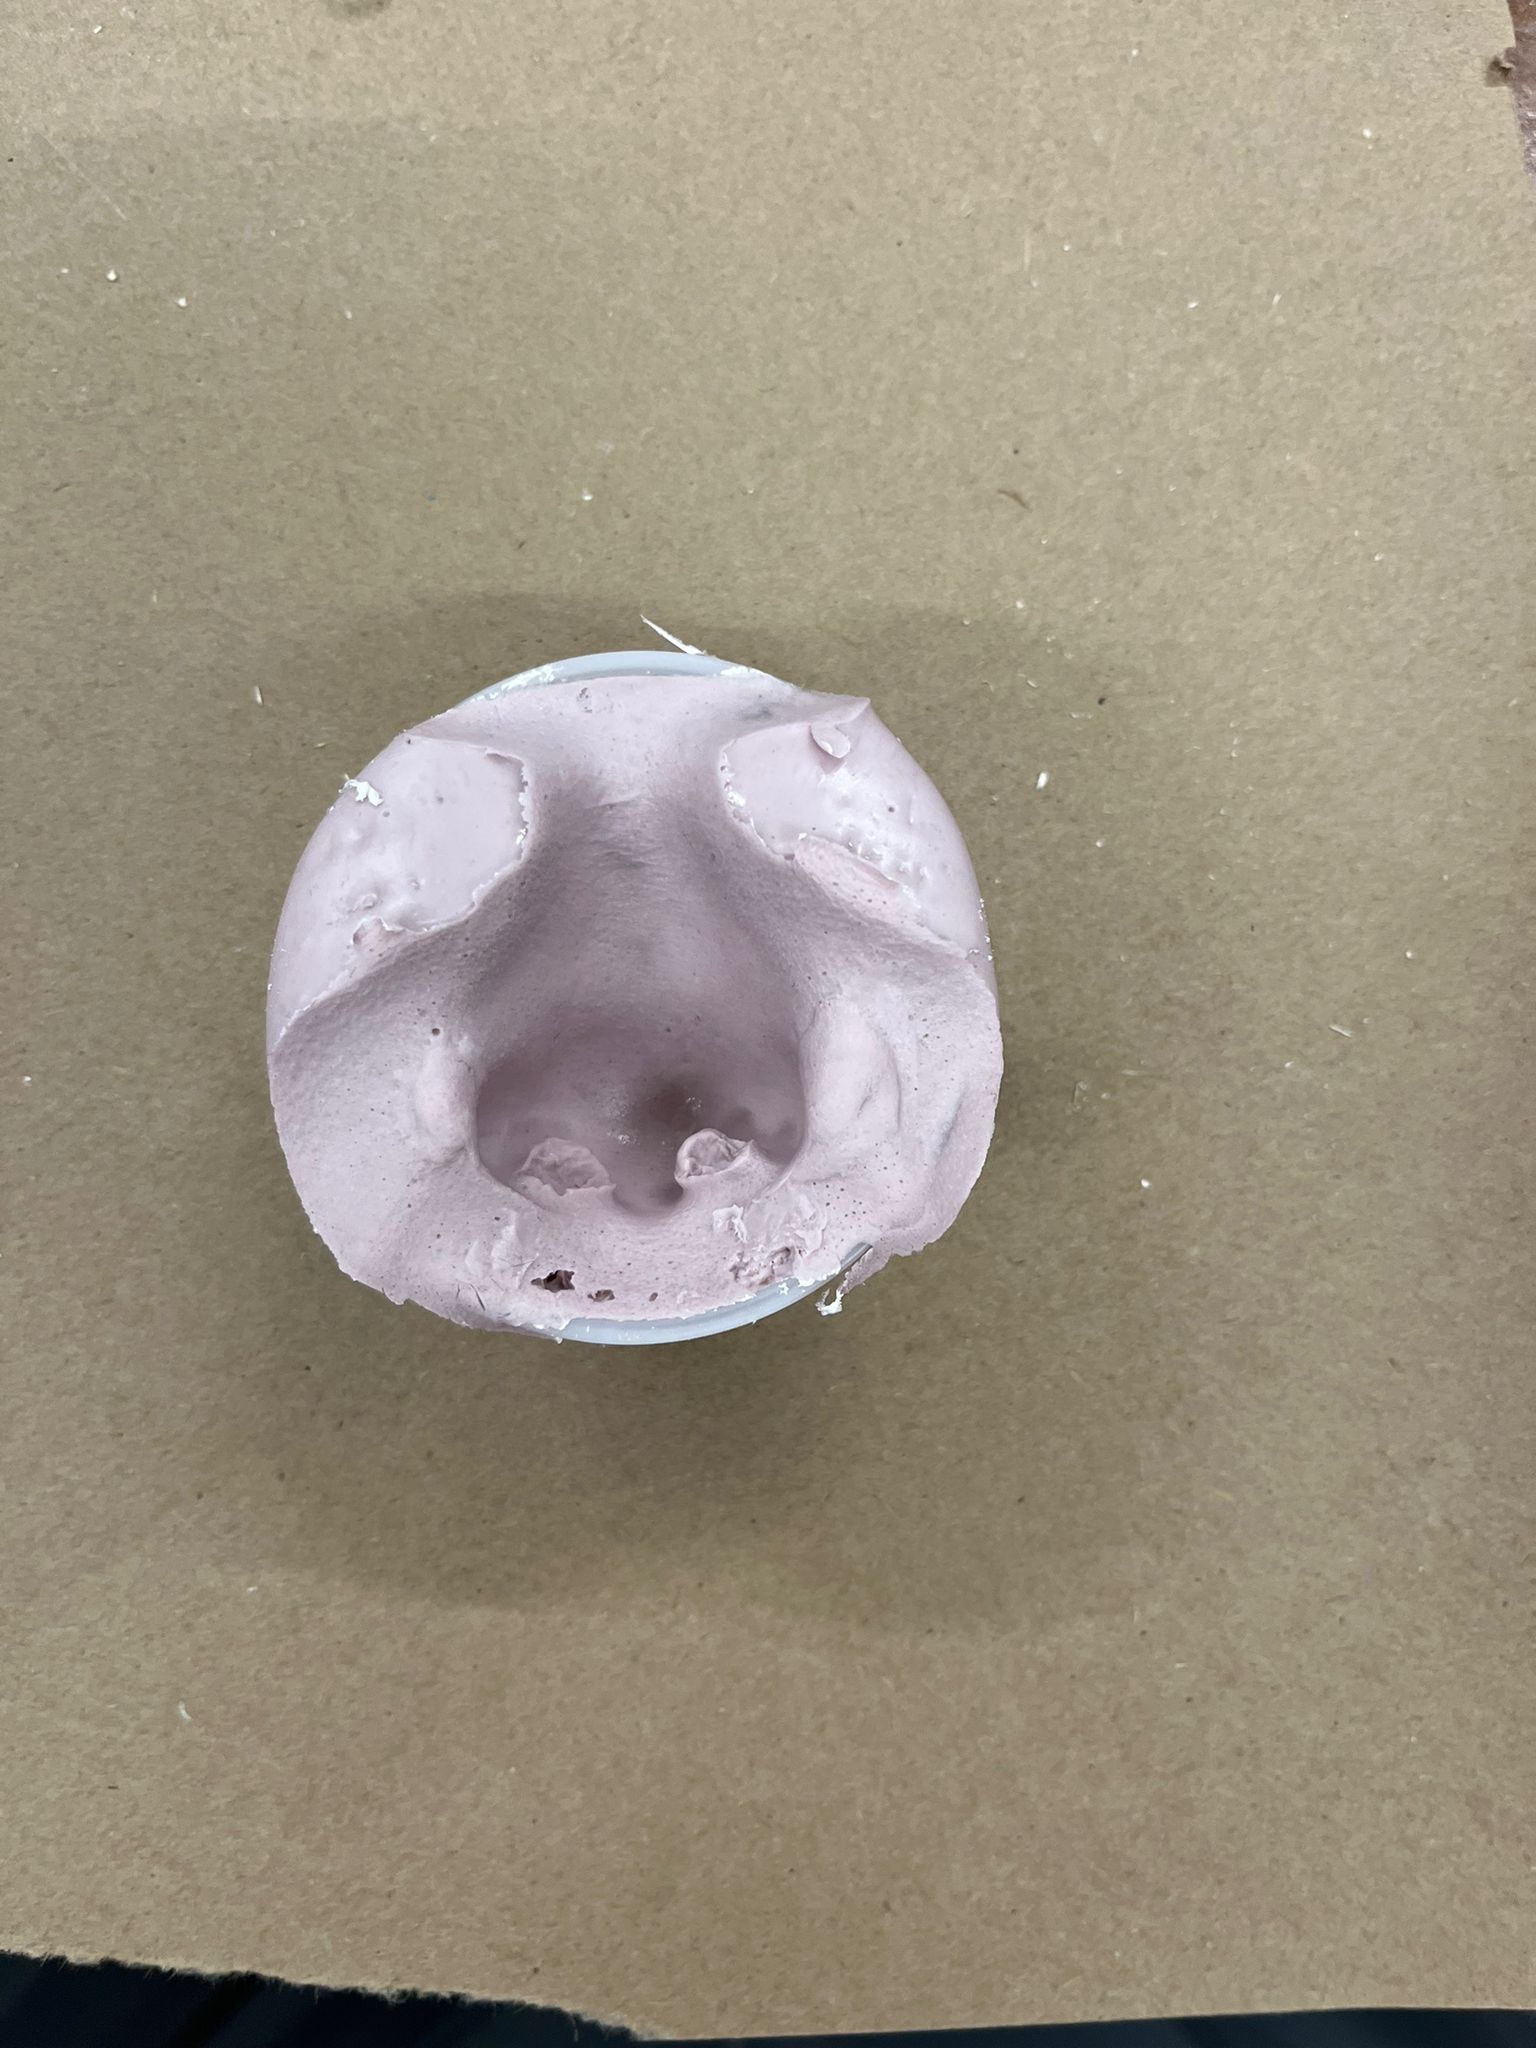
After waiting the 8 minutes. I pulled my nose out of the now nose shaped mold and basked in its glory. I then filled it
with gypsom cement to make a cast of my nose.
Gypsom Cement
Follow Gypsom cement intructions
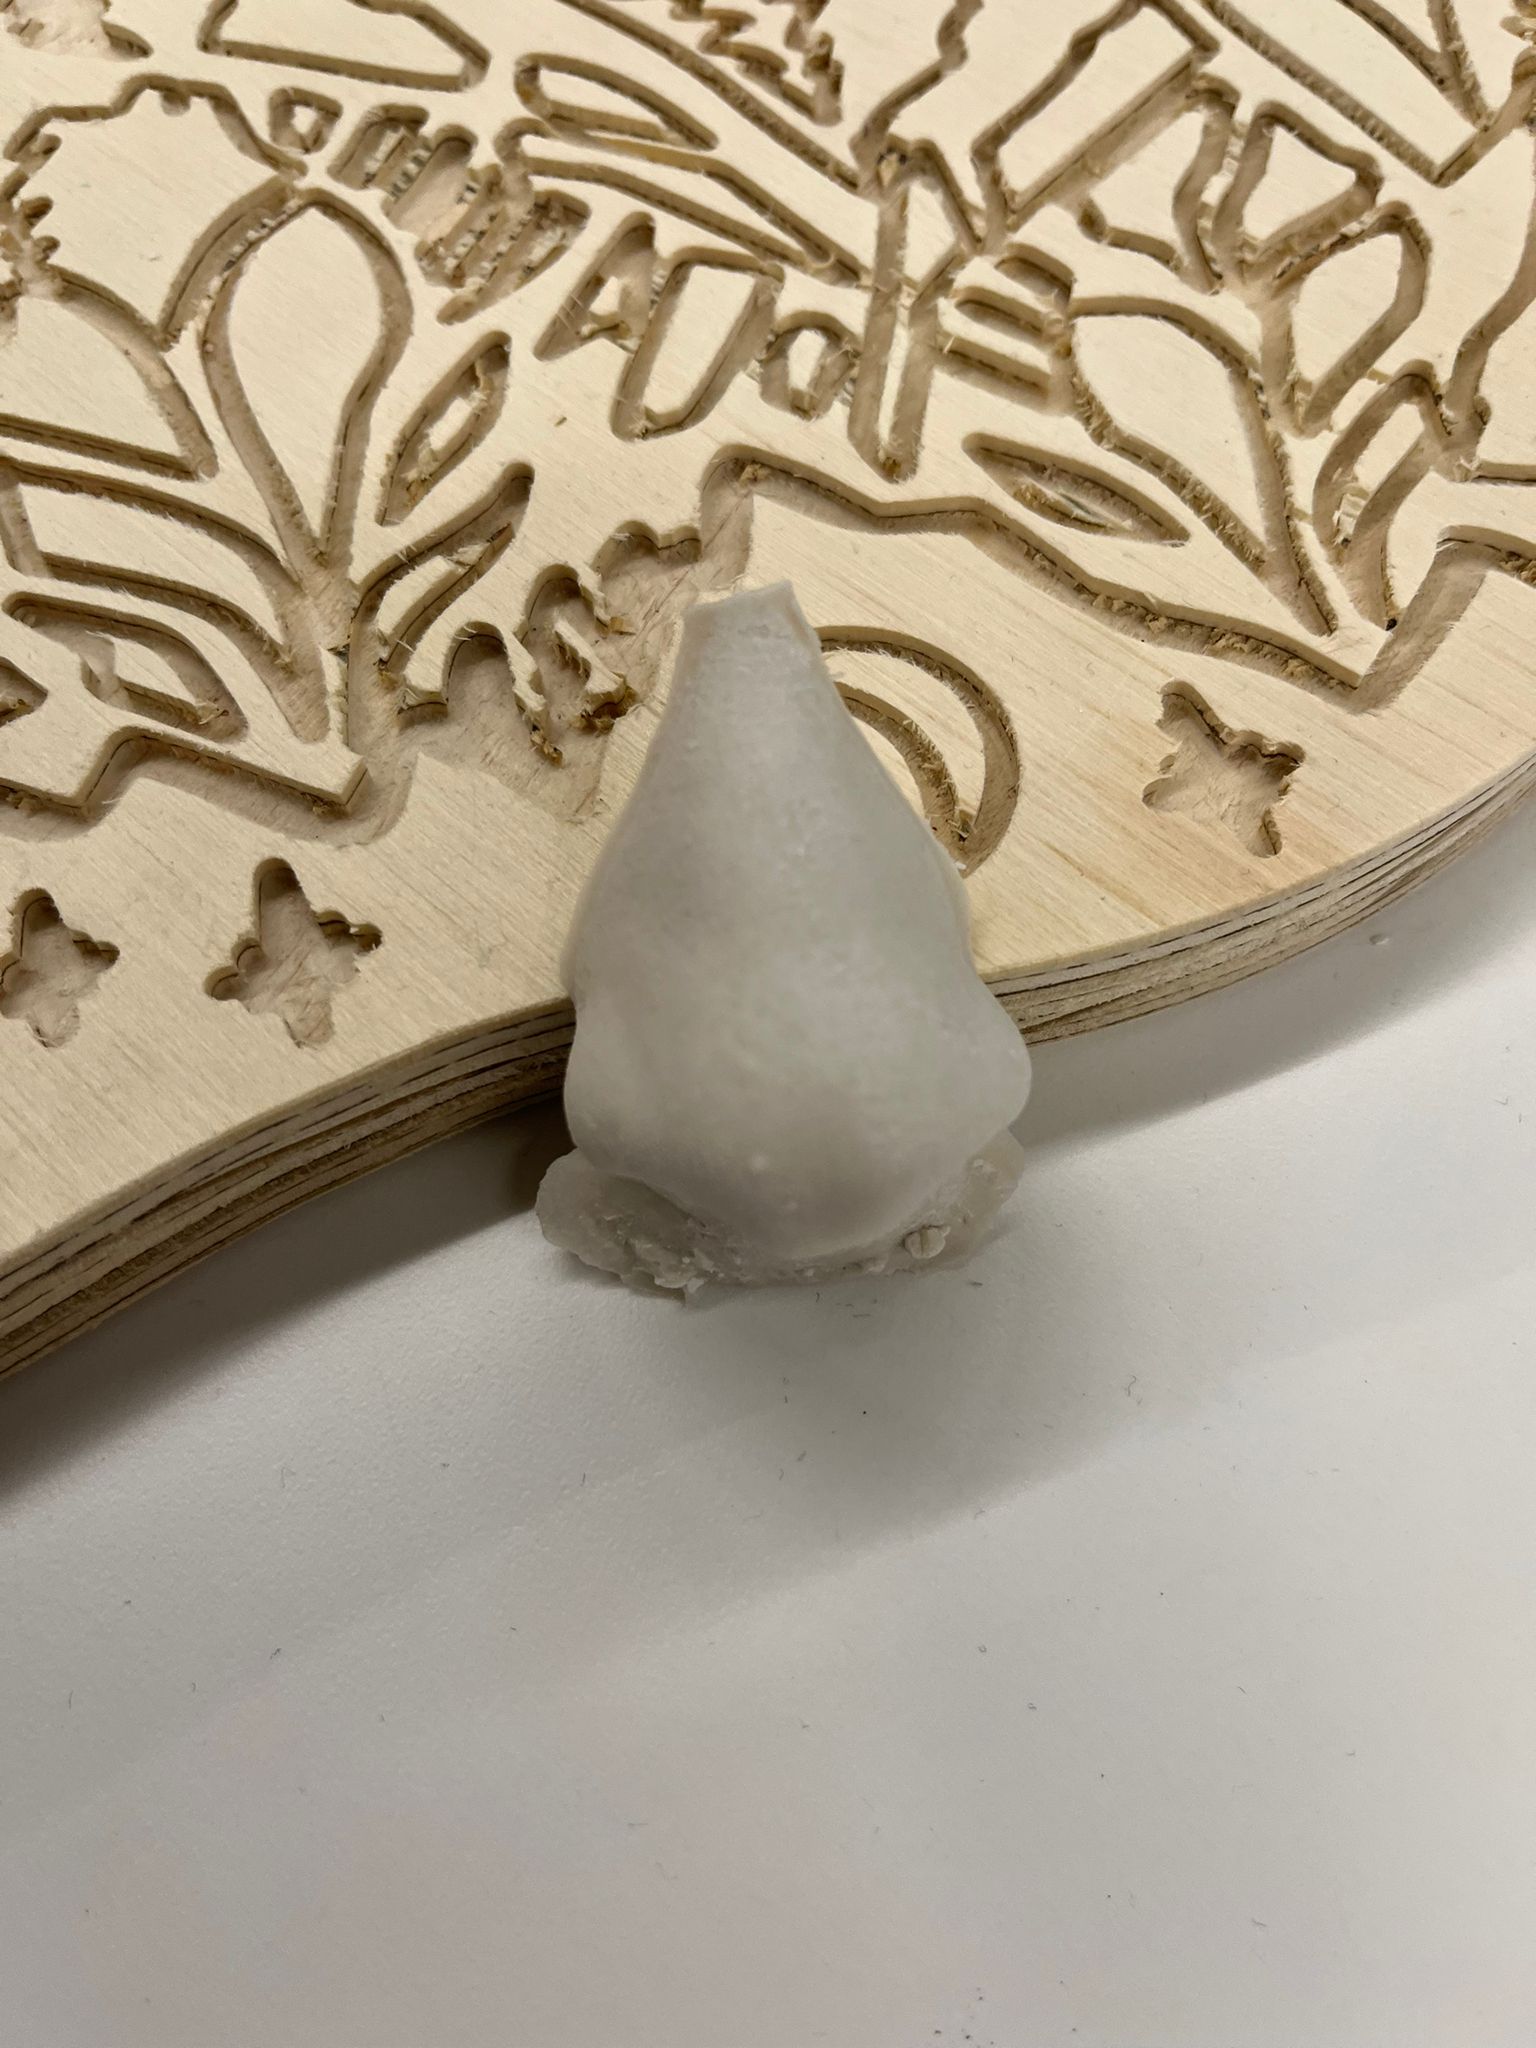
On box it says to use 100:65 ratio of cement to water, this worked but it took a long time to dry. Other people were doing
much more cement and making the consistency thicker. Both seem to work fine
Always start with water
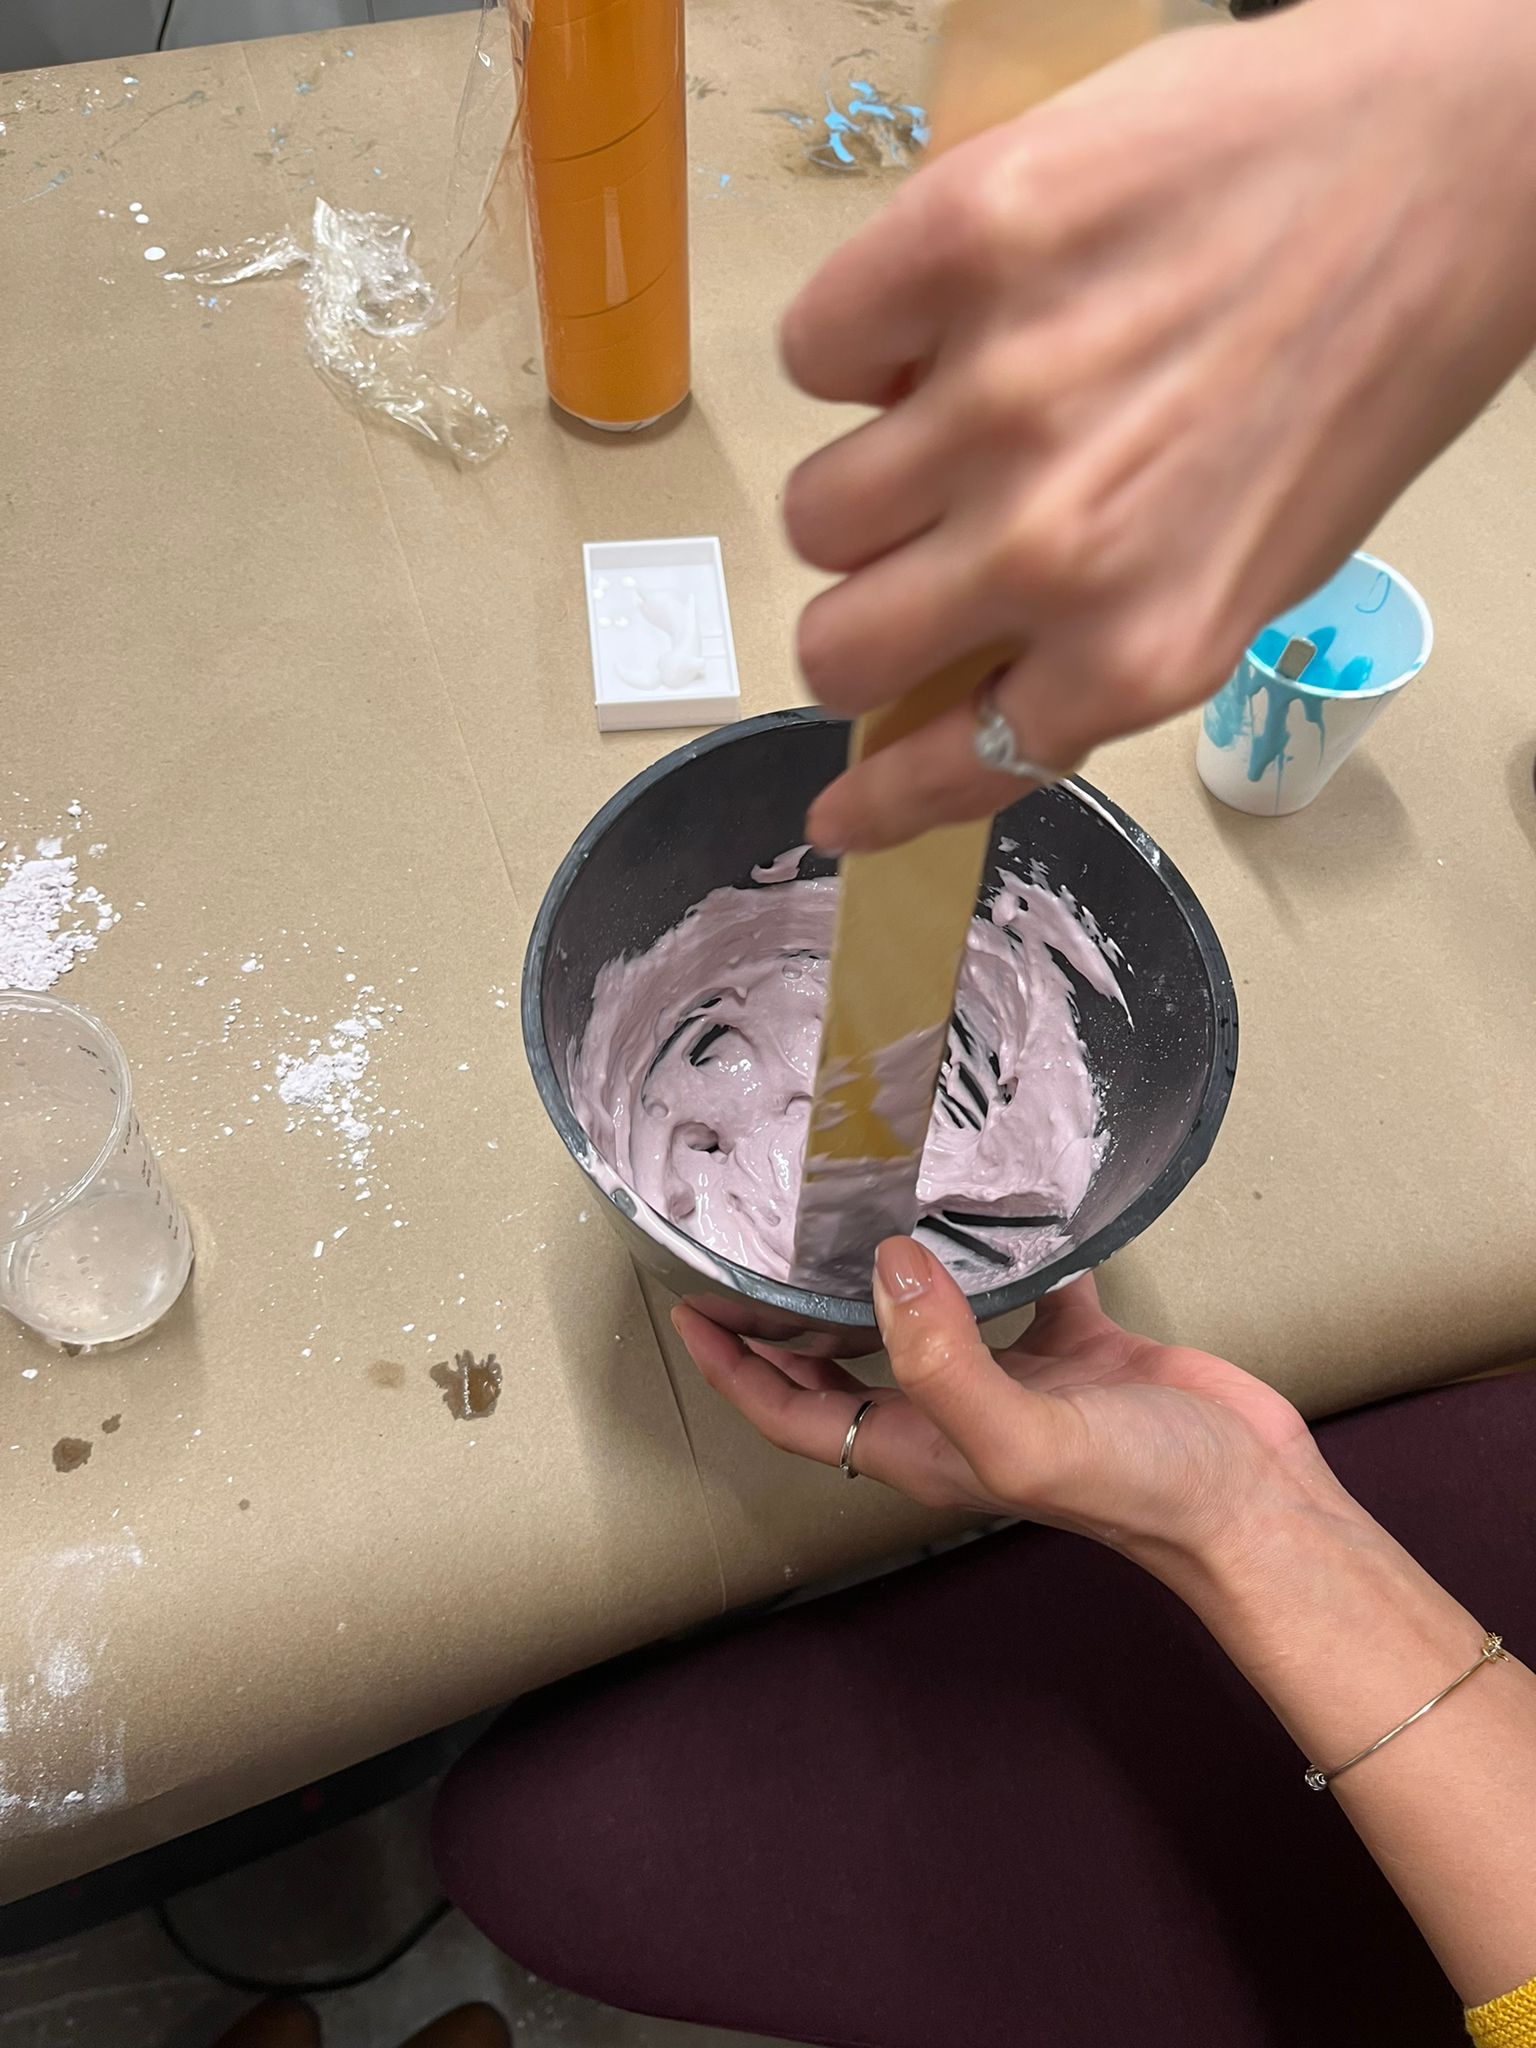
Then start pouring cement into the middle and continuously mix, using a flexible bowl is nice to we can mix on the sides
Make sure to get any cement mix on the sides, Sondos (resident gypsom expert) said to push the sides in order to make the mix better
Once consistency is flows off the mixing utensil pour into mold
Wait overnight
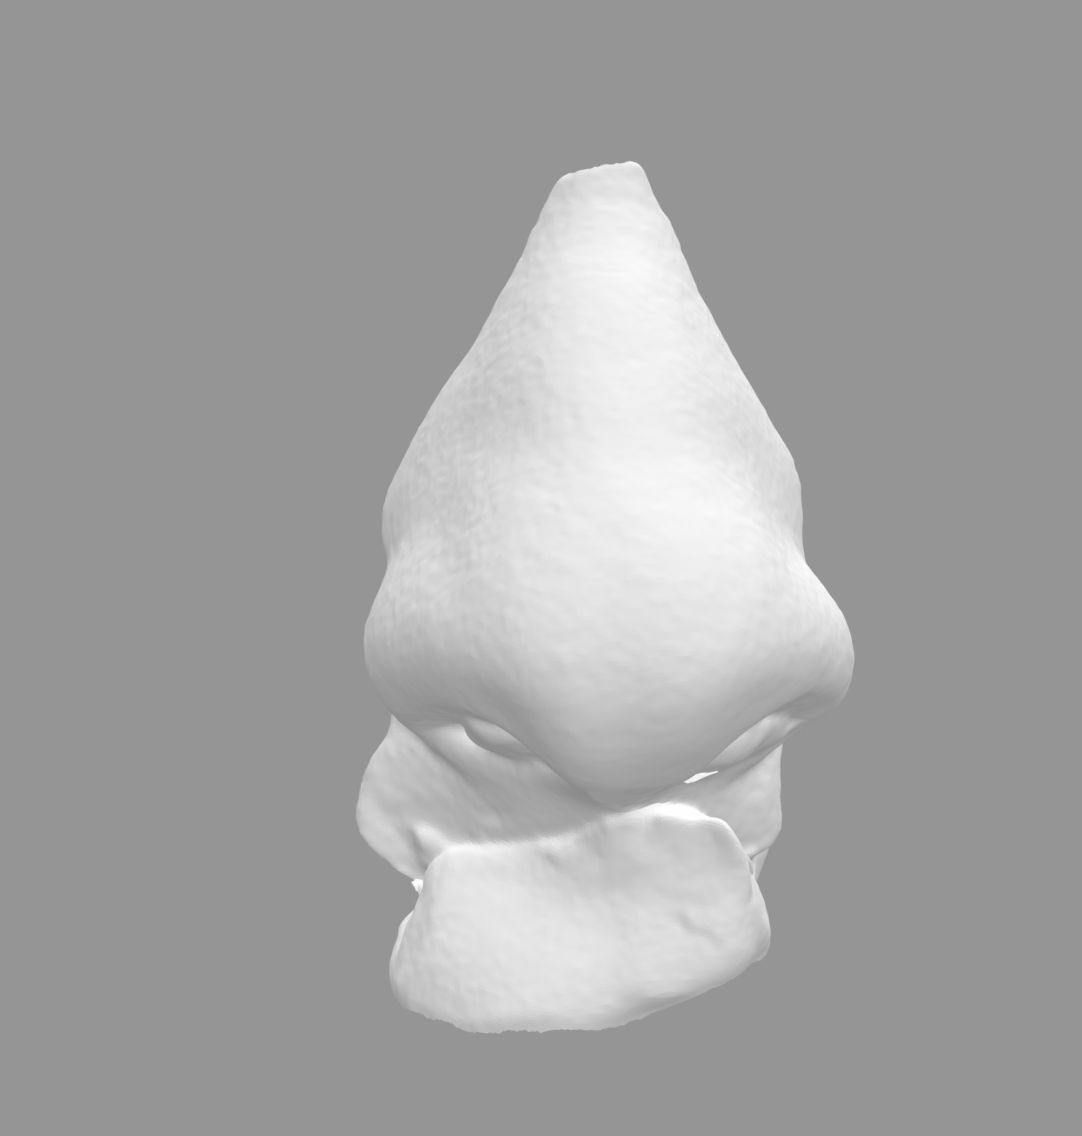
After that I went to the revopoint to make an STL of that cement nose. So I used revopoint.
Revopoint
Open Revo Scan
Hit Scan
Accuracy set to High Accuracy Scan
Scan Mode set to Face, I tried head but I got a better result with face
Texture set to Color
Hold camera at distance where Revo Scan says excellent
Scan Face
Fuse
Mesh
Export
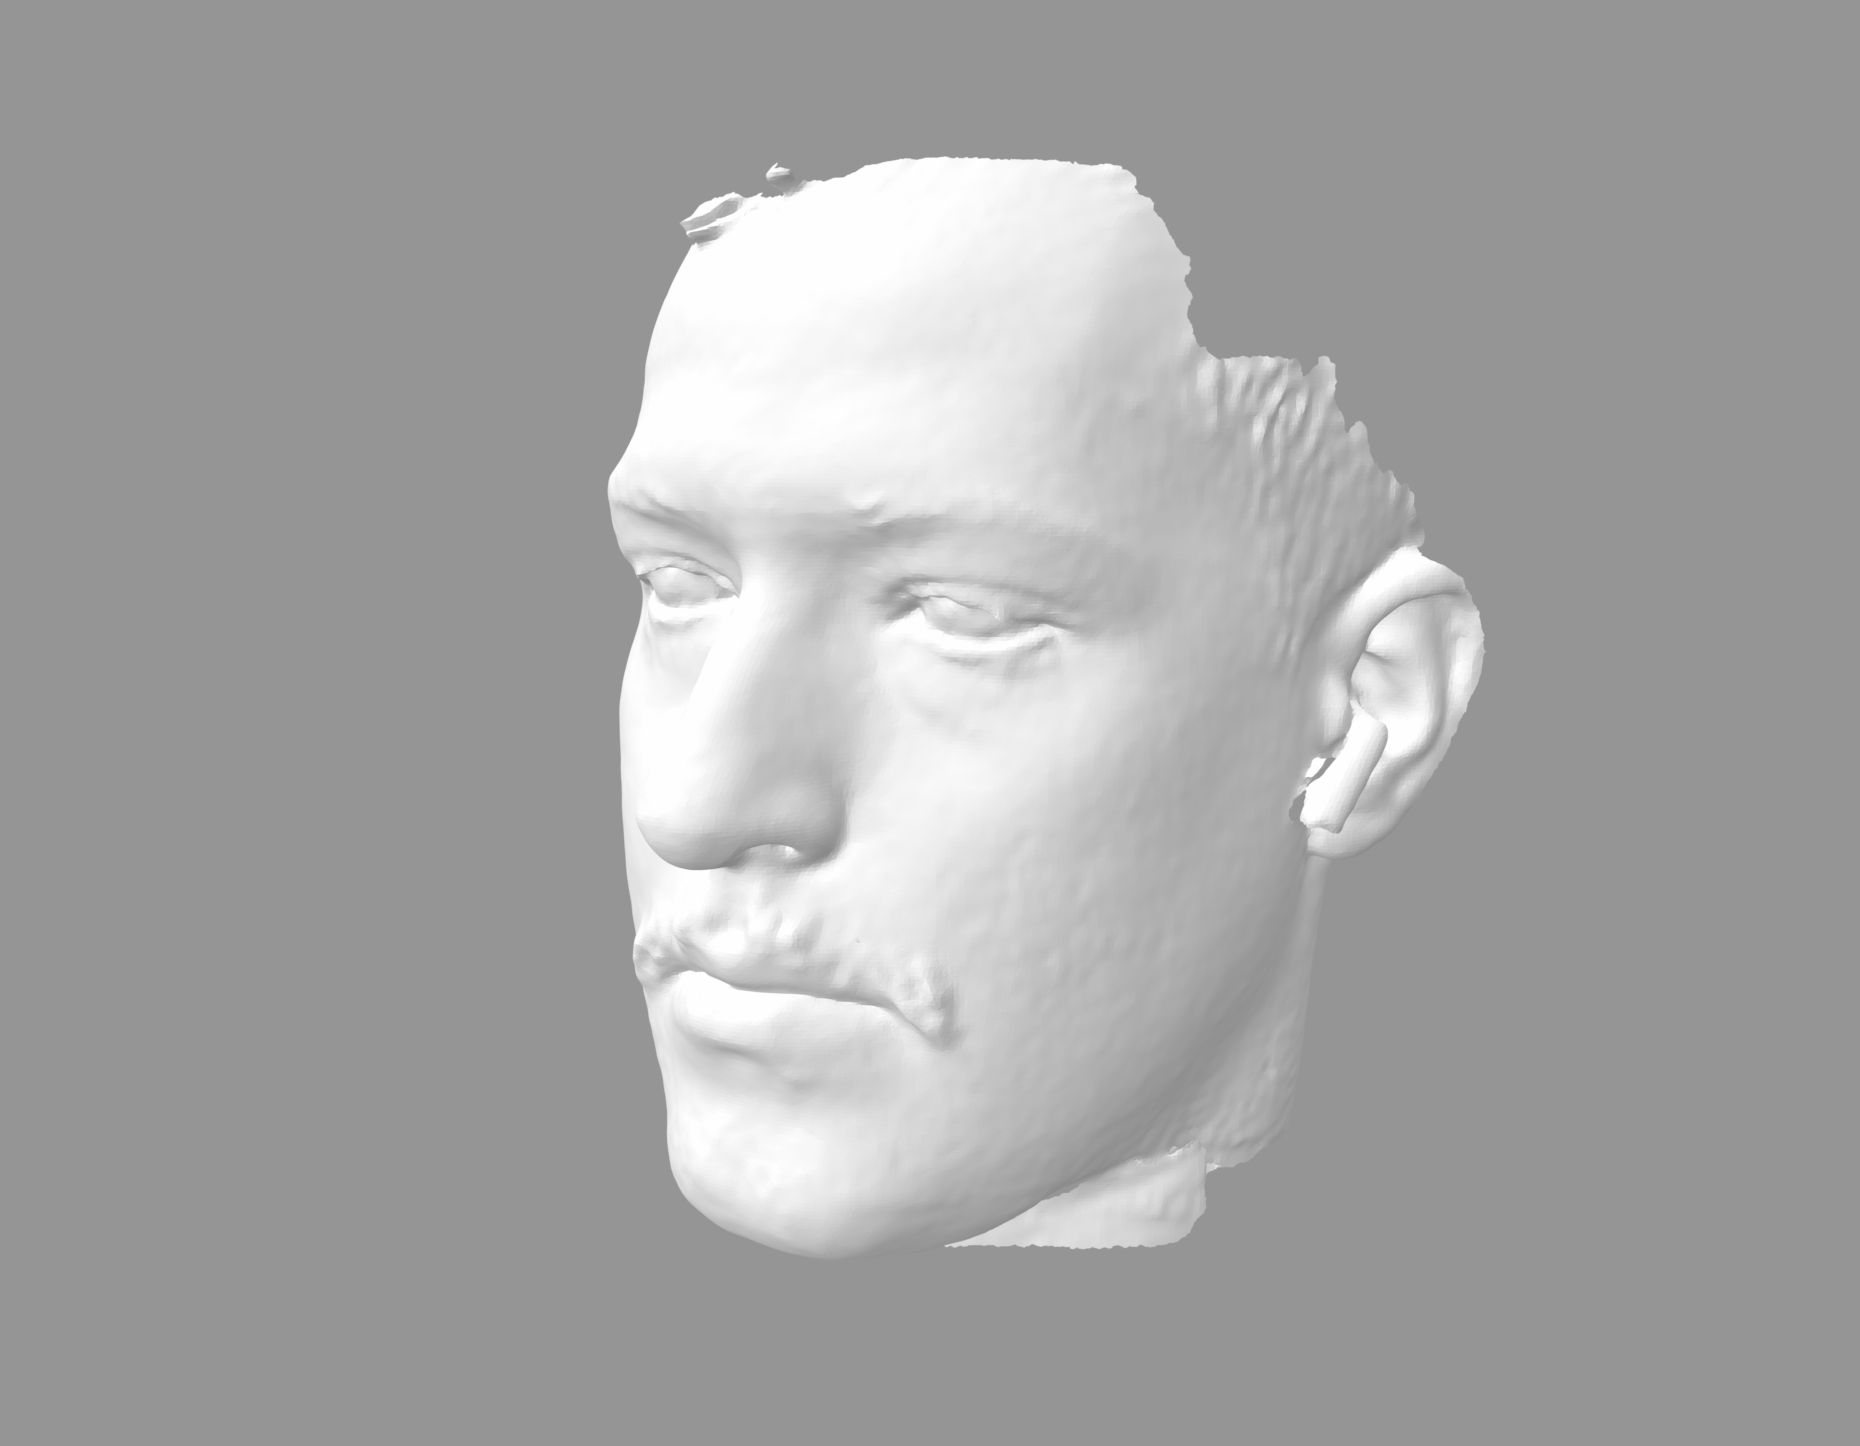
I also then scanned my face. I wanted to then go to blender and cut out my nose and get an STL then. The problem was
I don't know how to use blender and I wasn't able to figure it out this week. I was able to get a scan of both my face and the nose
but not able to isolate either of them to put in an STL to make a mold of.
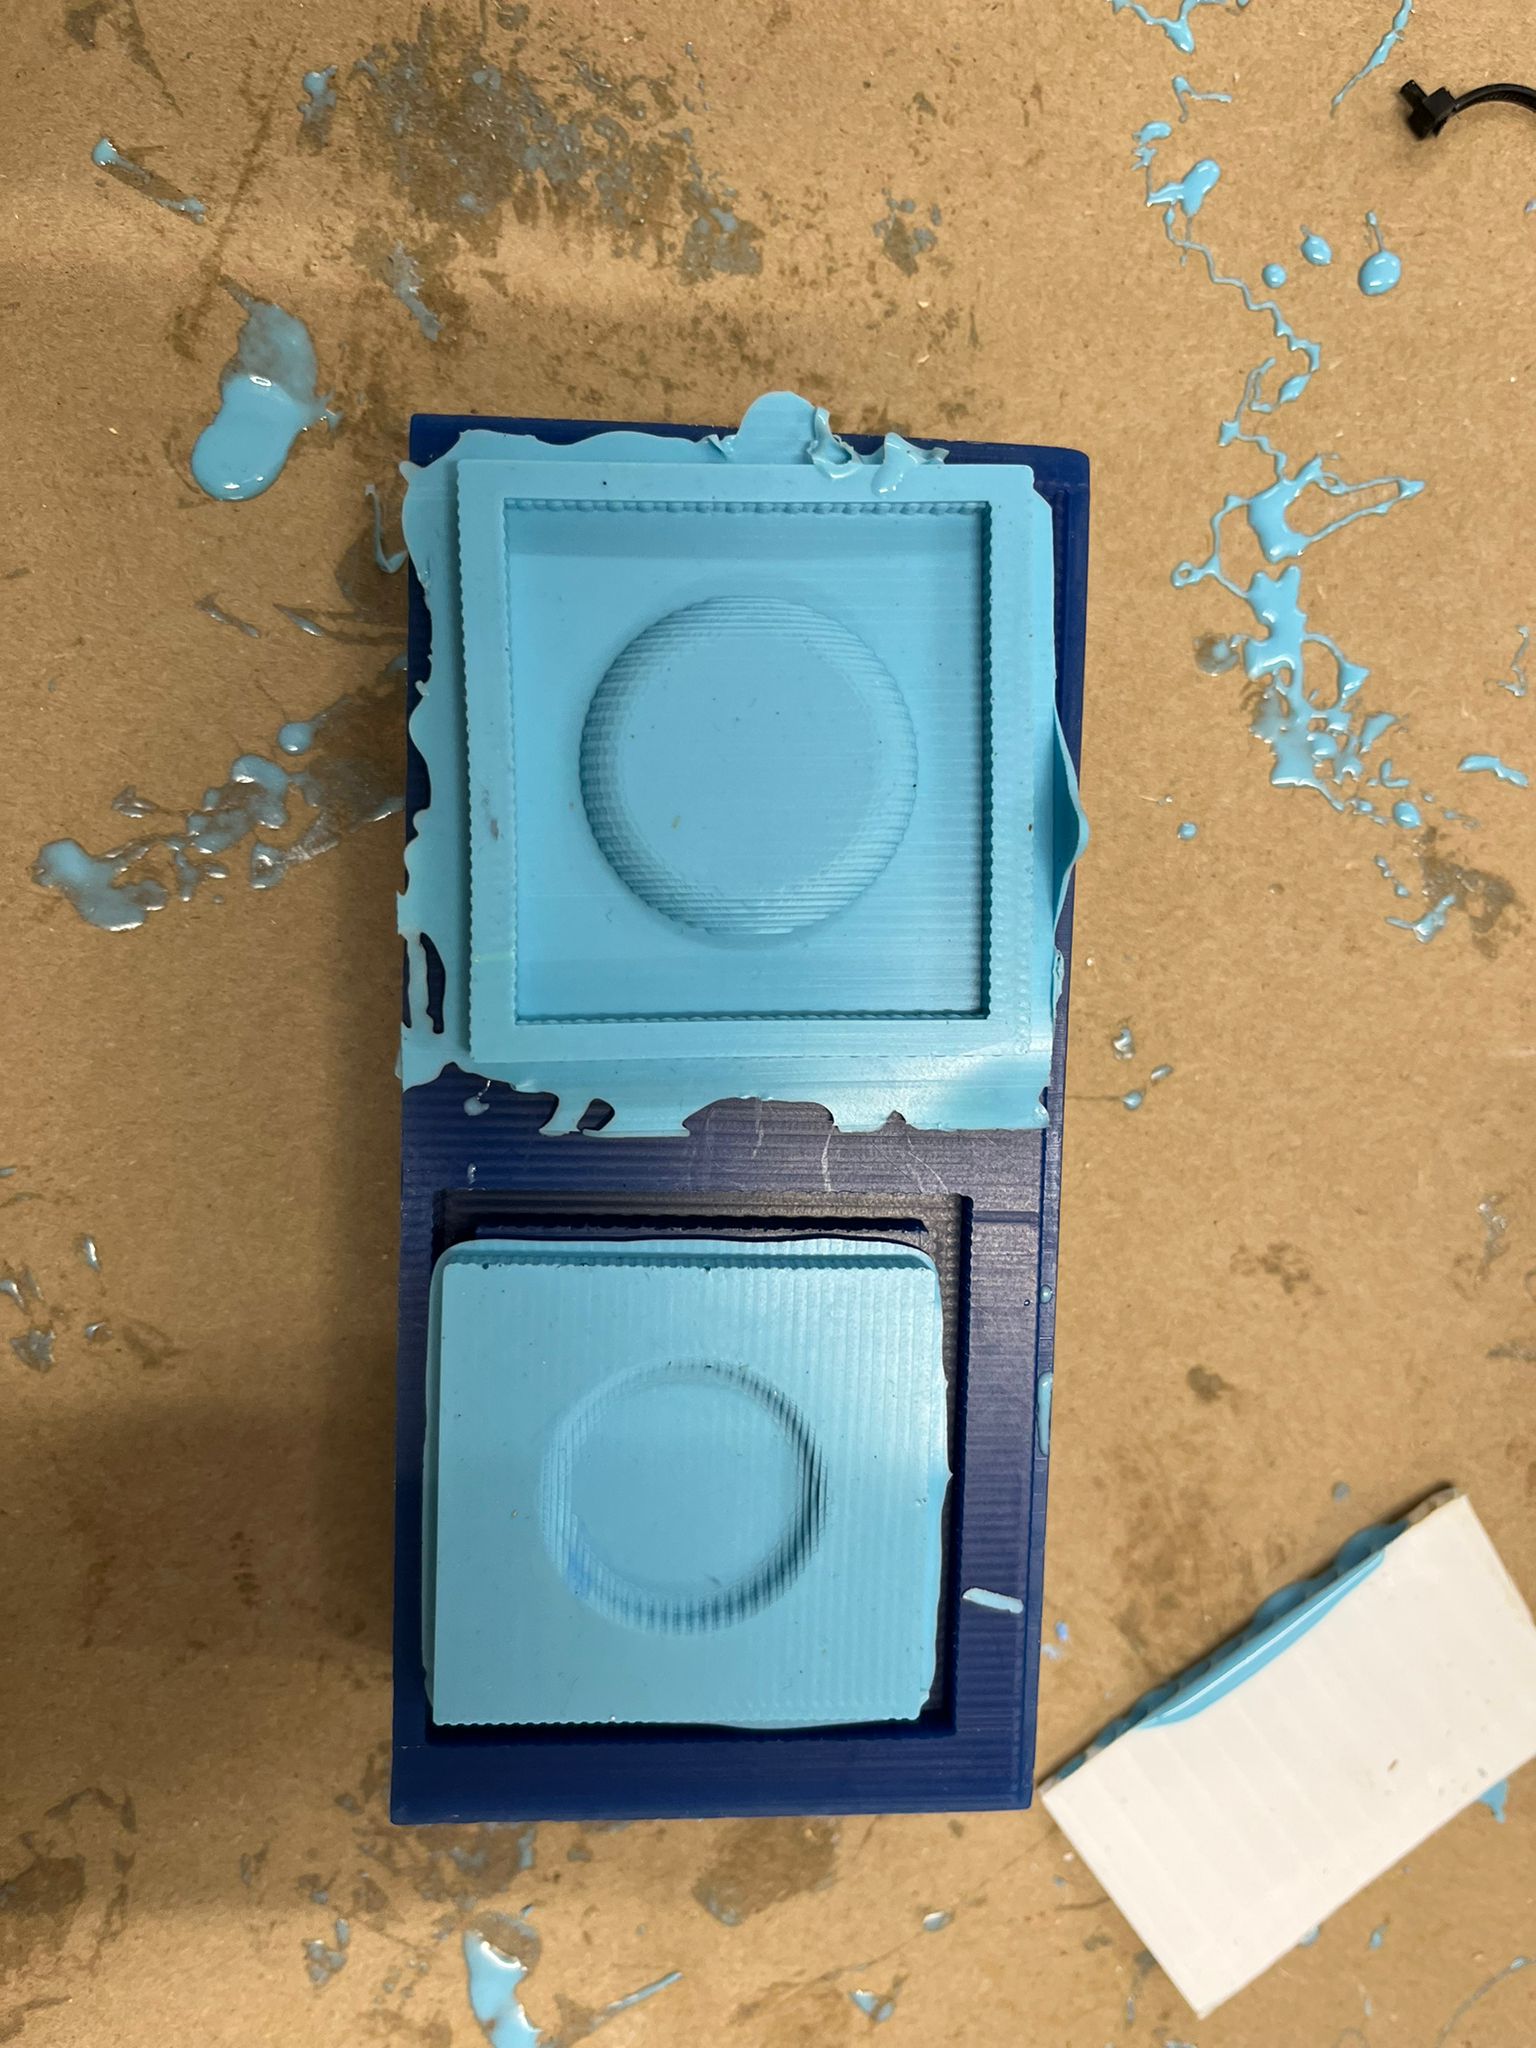
Proof of concept
In order to get a proof of concept of how to get a uniform concave layer for a nose covering I decided to do a circular shape.
In fusion I made one that is protuding and one that is embedded. I was going to make the embedded hole deeper and wider then the
extruding shape. Since it was a two piece I also added a step on one of the sides such that when put together the molds would wrap around
eachother like a warm hug. I forgot to add a sprew and a vent in my fusion but I was planning on just cutting them in the mold.
Wax blocks
I felt like choosing a wax block was like choosing a wand from Harry Potter (I don't support JK Rowlings). I chose a barely used long wax block.
MODS
We used a different mods program than we did most weeks, this week we used Rolland SRM-20 Mill 3D STL.
Start with rough cut, meaning using 1/8th and raising mill bit 1 more up once set it down
Can choose either XY or YZ don't need to do both
Then change to 1/16th mill bit and do finish cut by repeating last two steps
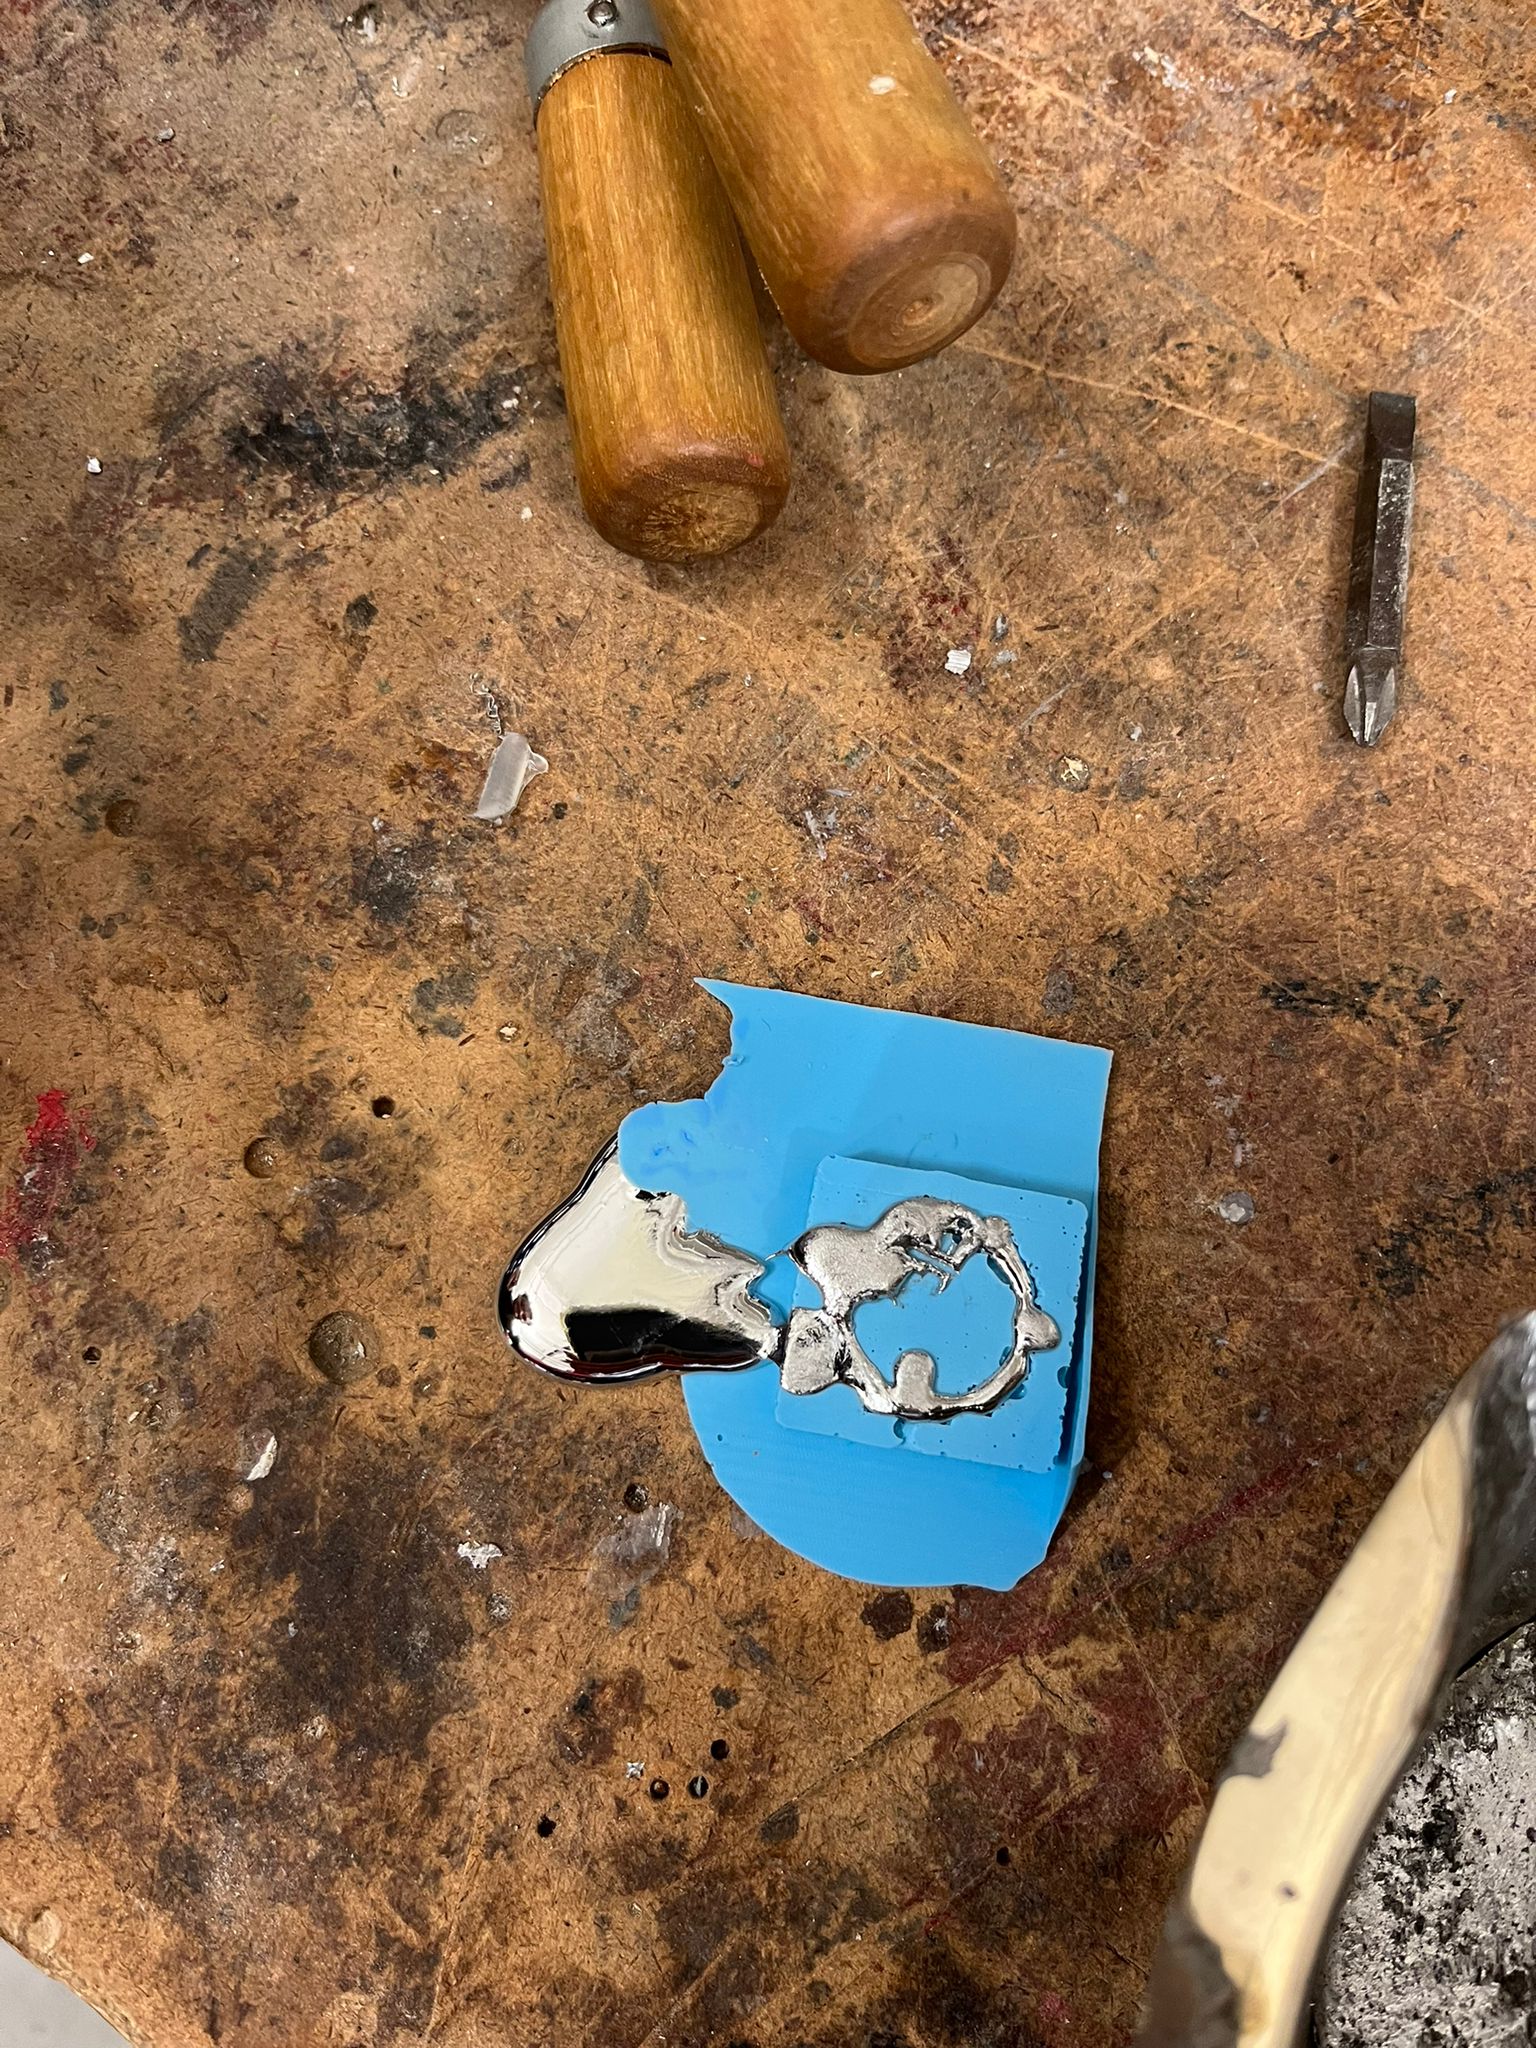
Once I did the rough and finishing cut, I poured Oomoo 25 into the mold.
Oomoo 25
Follow the box instructions
Take the two solutions out of the box
Make a mixture of both liquid parts in 1:1 proportion
Mix until a single color
Pour in mold and let sit for 75 min
After waiting for the oomoo to harden, I pulled the molds out and realized I had made it backwards, I made the extruding portion
bigger and the embedded one too small. I was crushed.
I think that it will work once I fix my design. But the next problem I am thinking about is scaling up. I'm not totally sure how I would
cover my entire final project with covering that I cast myself because it is going to be bigger than the blocks of wax we have in the lab.